Your Cart is Empty

Incredible Inktense!
Crafting and Creating with Derwent Inktense blocks and pencils on fabric.
In our first blog we looked at the advantages of using the Inkense range to create and colour textile pieces. We used blocks, paints and pencils, to create some beautiful textile pieces. This blog will combine traditional, textile, techniques with Inktense pencils, blocks and paints.
PART TWO
Tie dying with marbles and Inktense blocks
What you will need;
- Cotton, silk, works really well, however any blended or synthetic fabric will also work, but may dry slightly lighter.
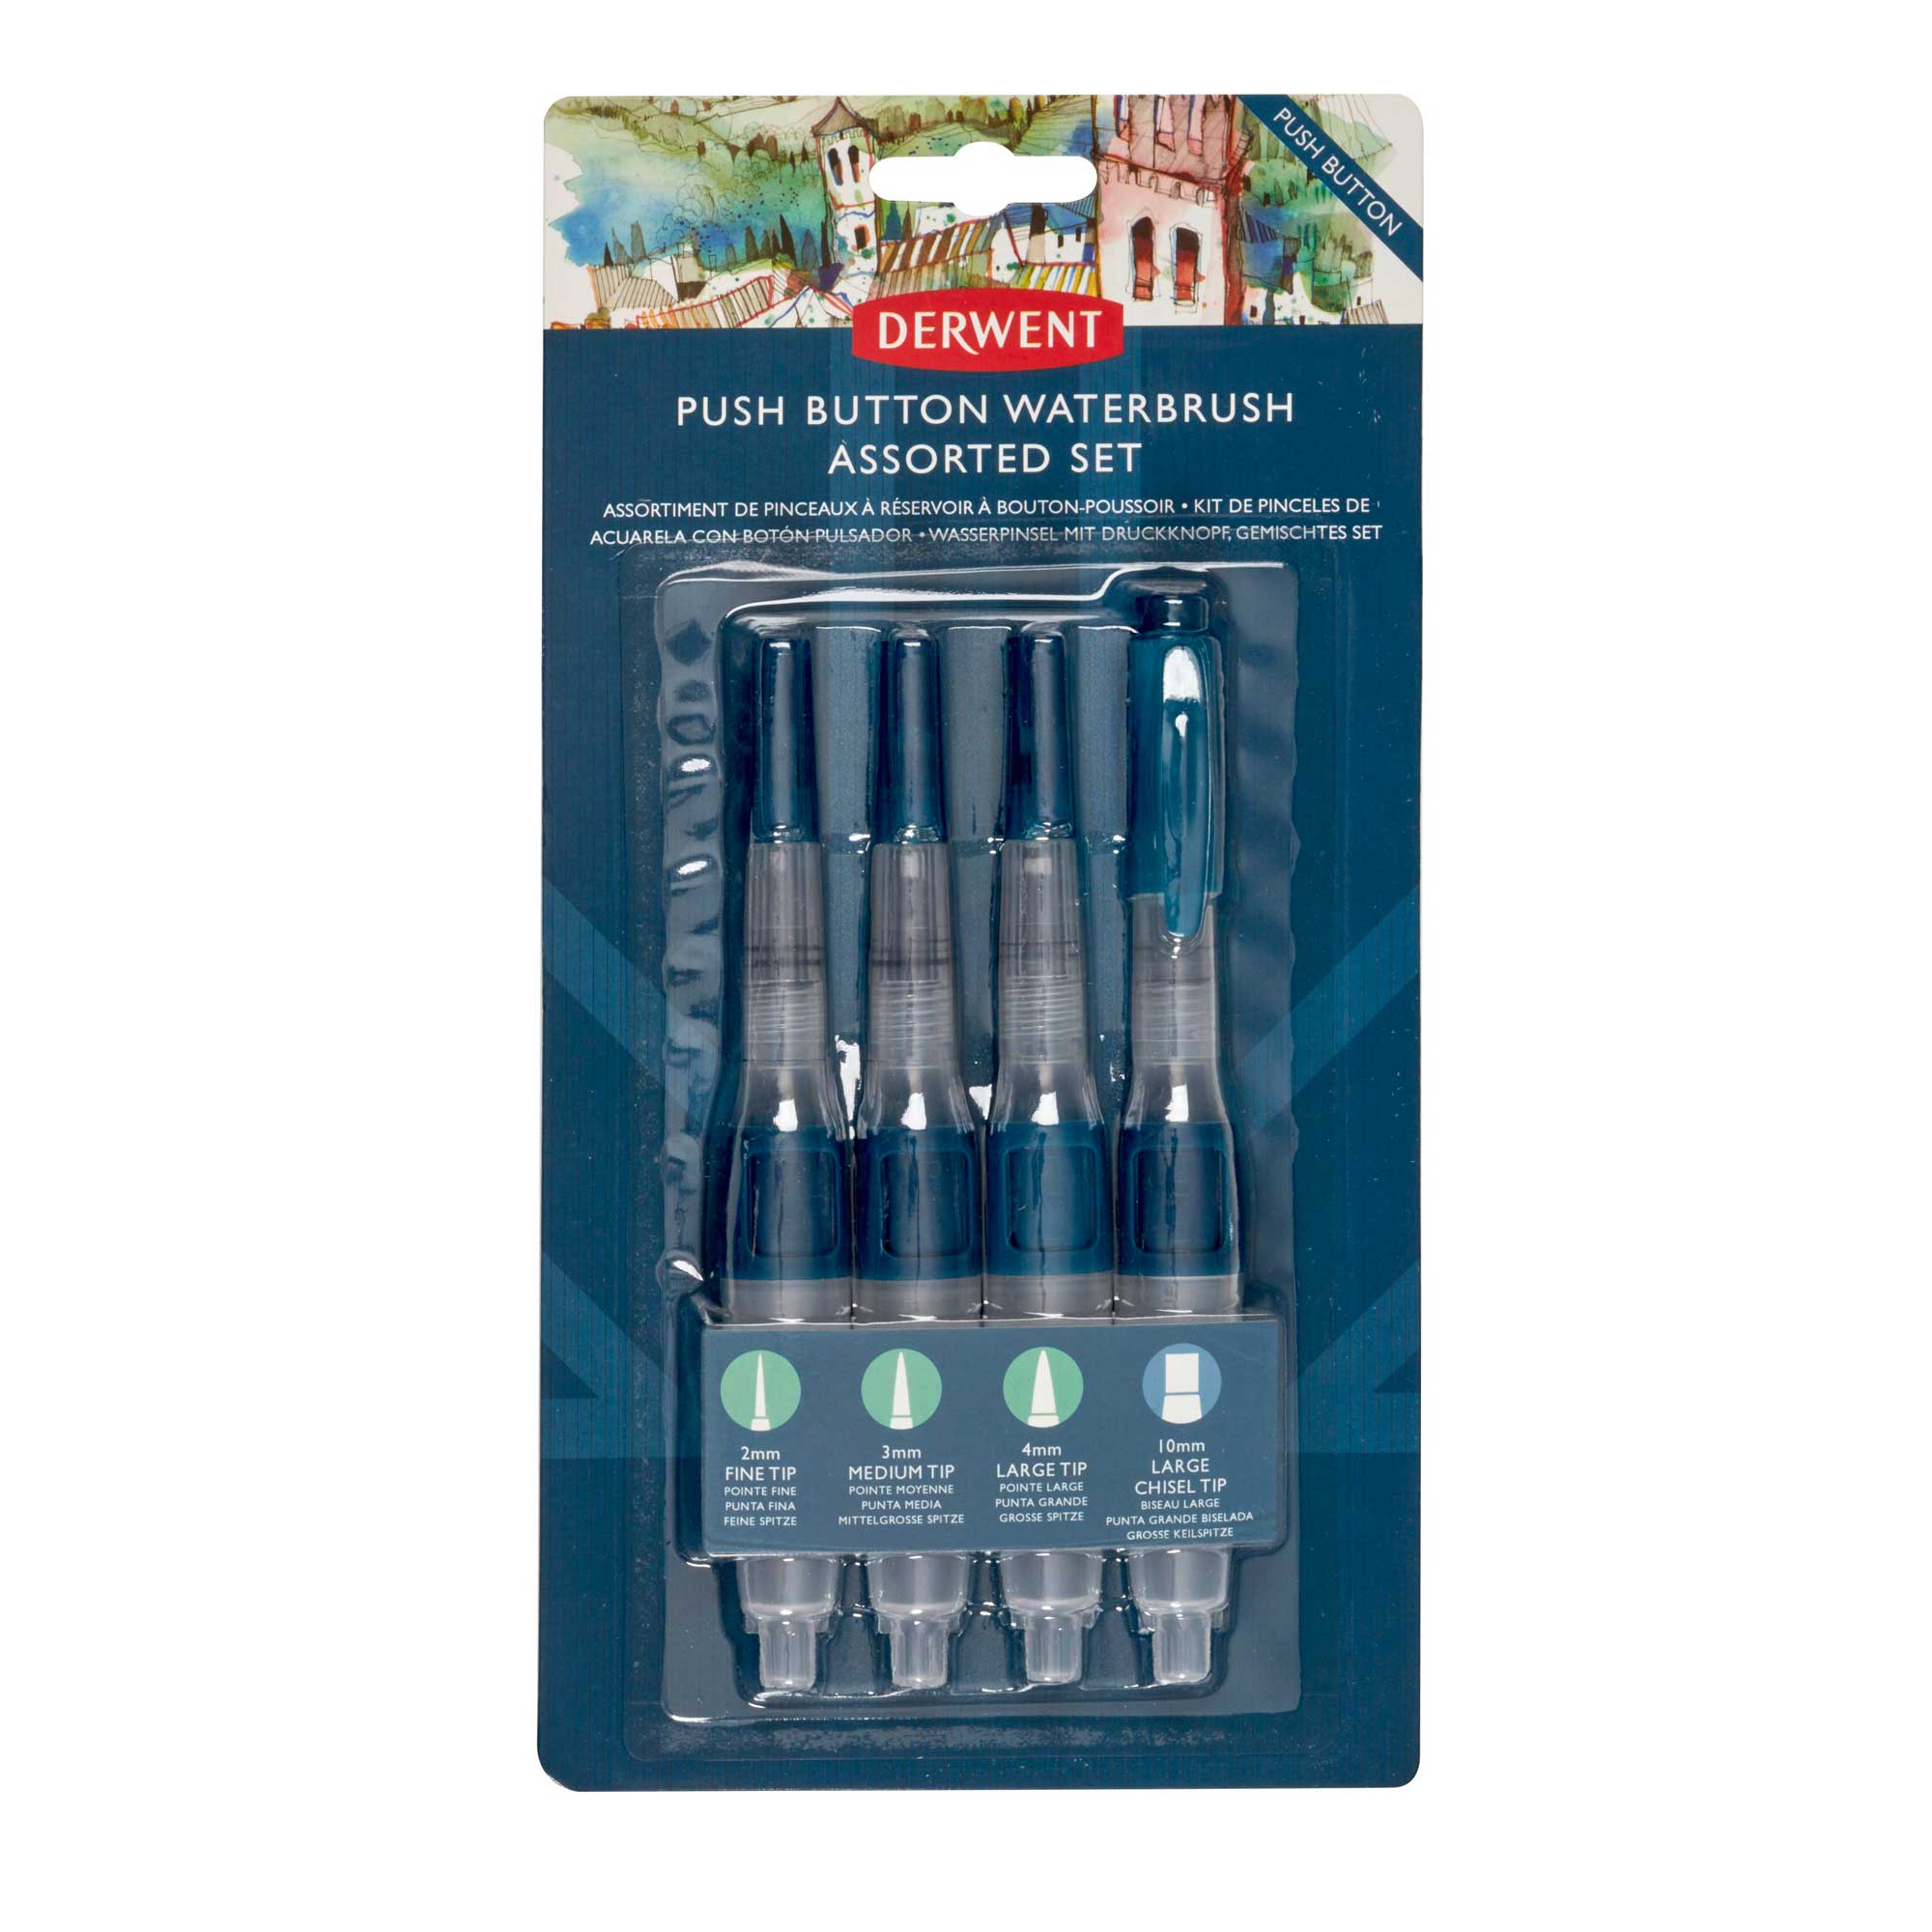
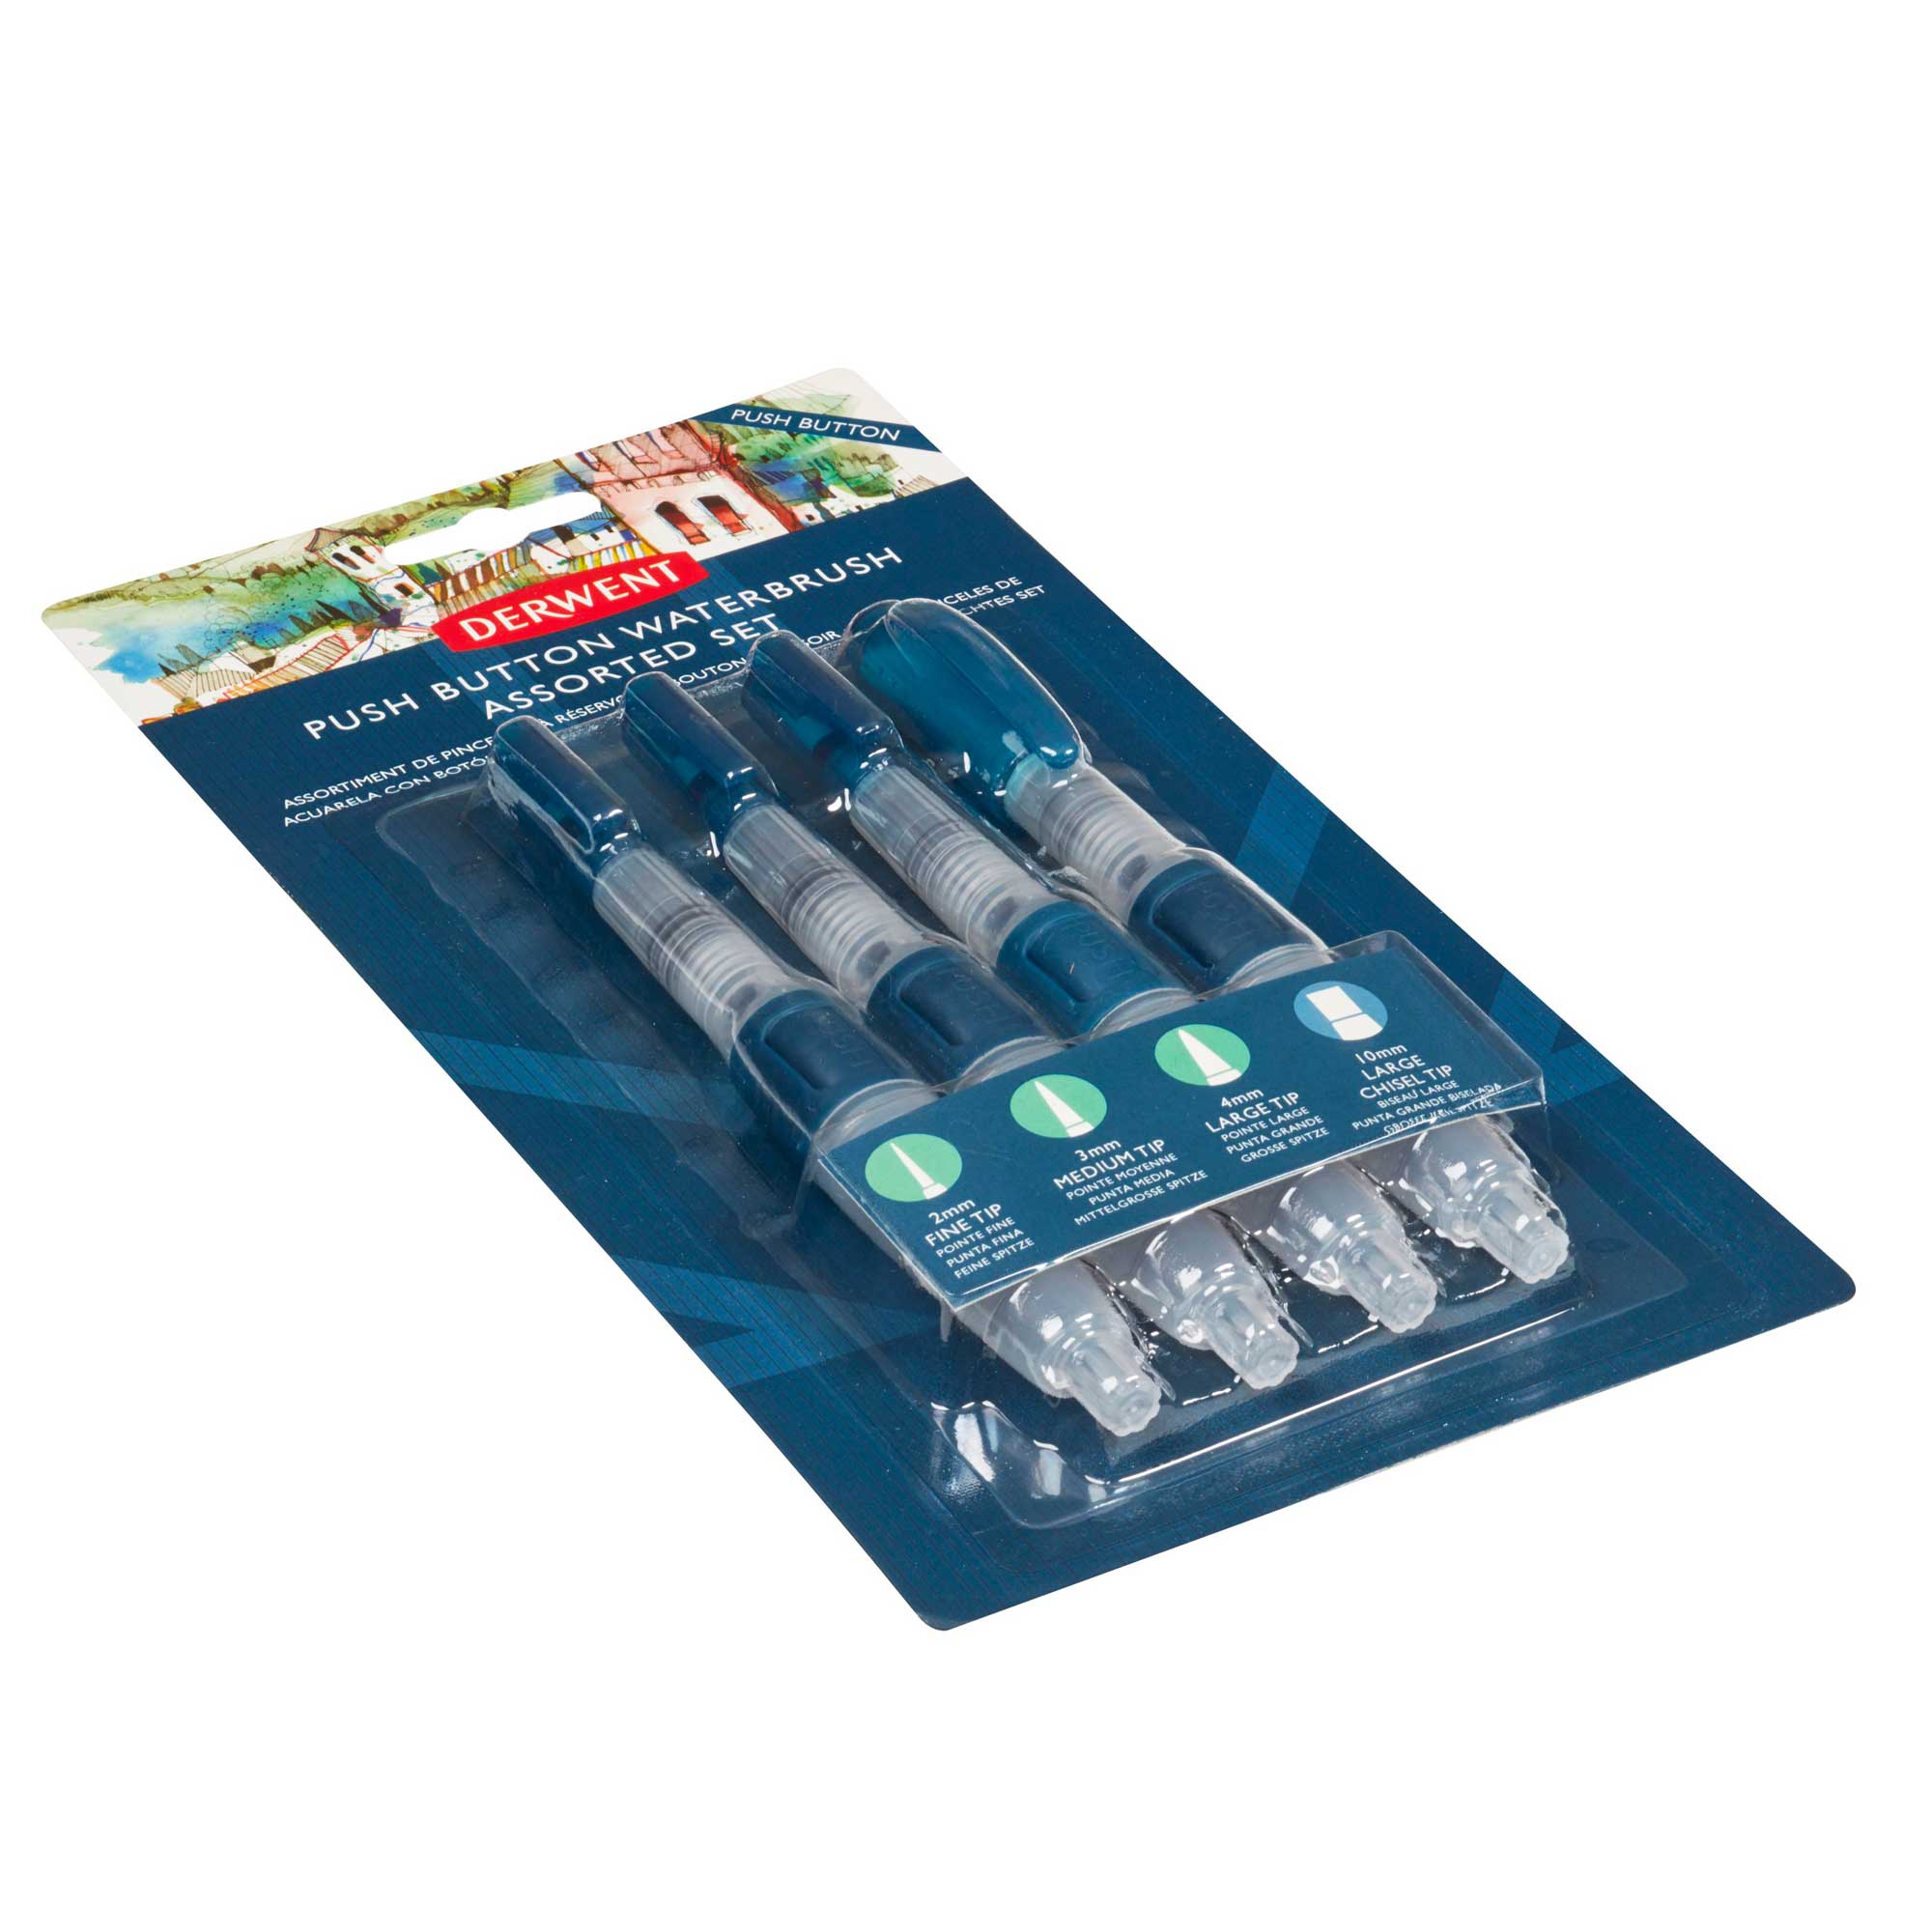
- Water brush, Derwent Waterbrush - Pack of 3
- Sponges for creating texture (optional) Jakar Artists Natural Sea Sponges - Pack of 10.
- Water jars
- Stiff Brushes
- Inktense blocks
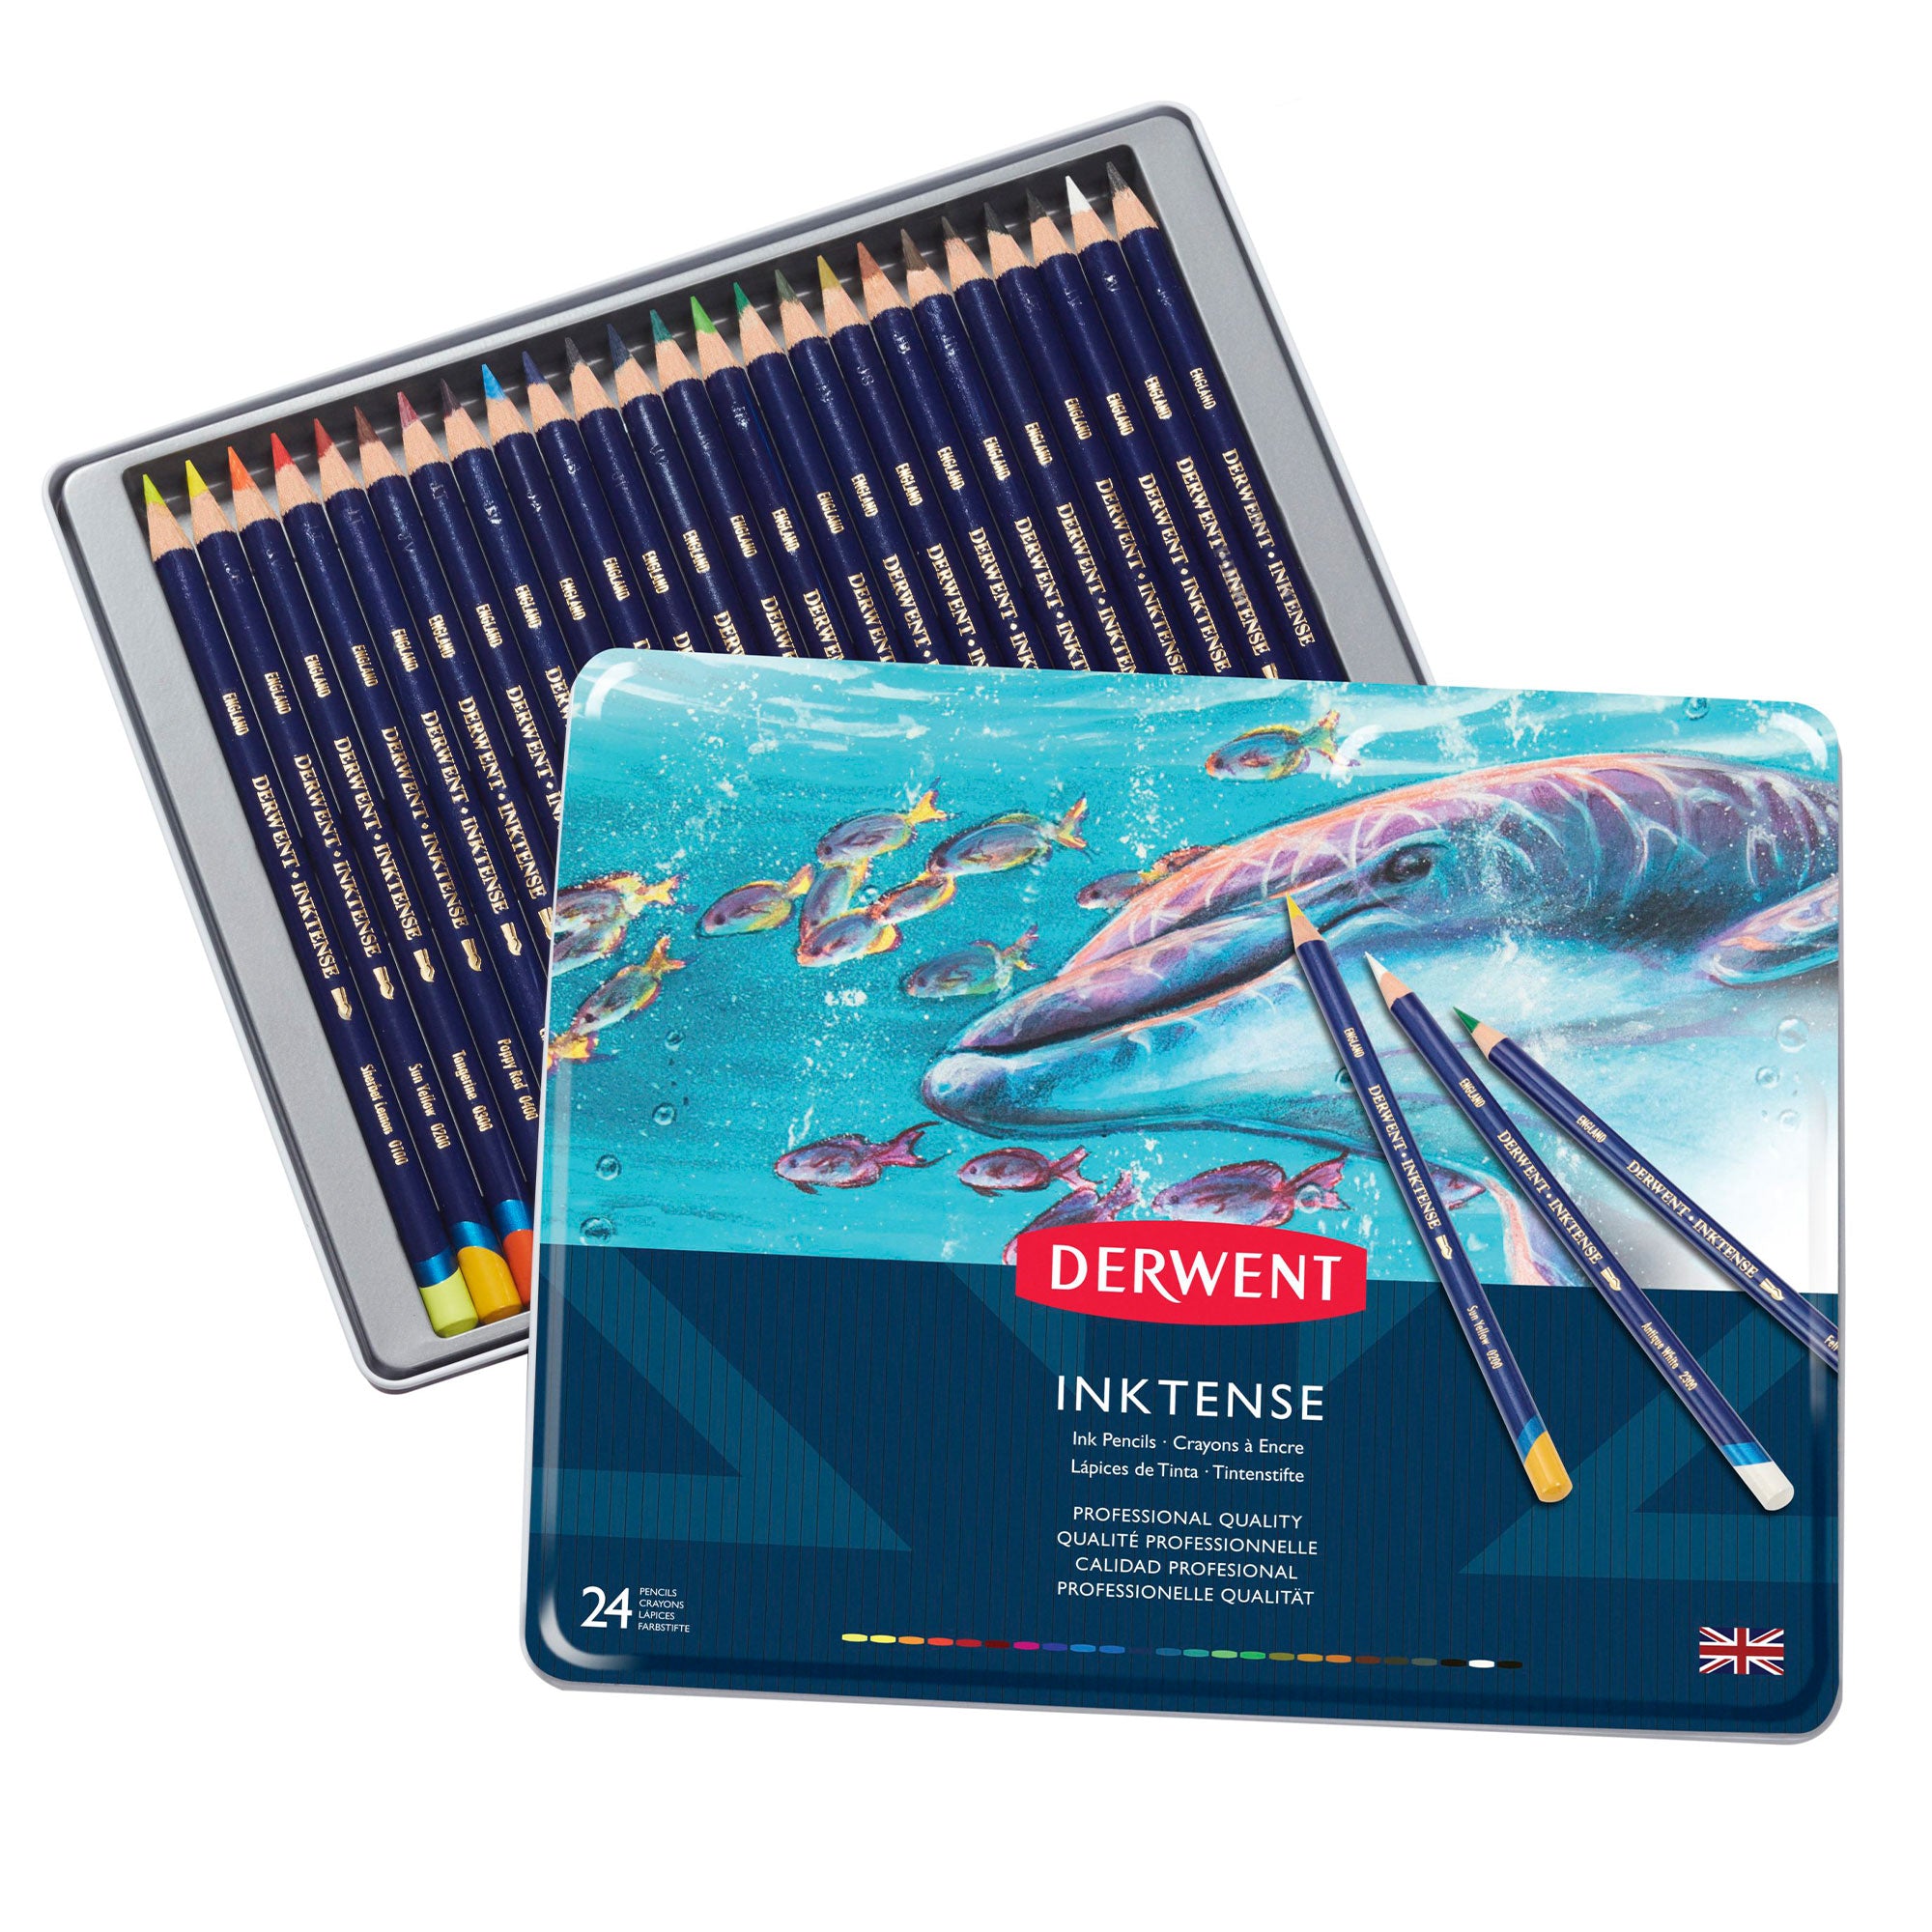
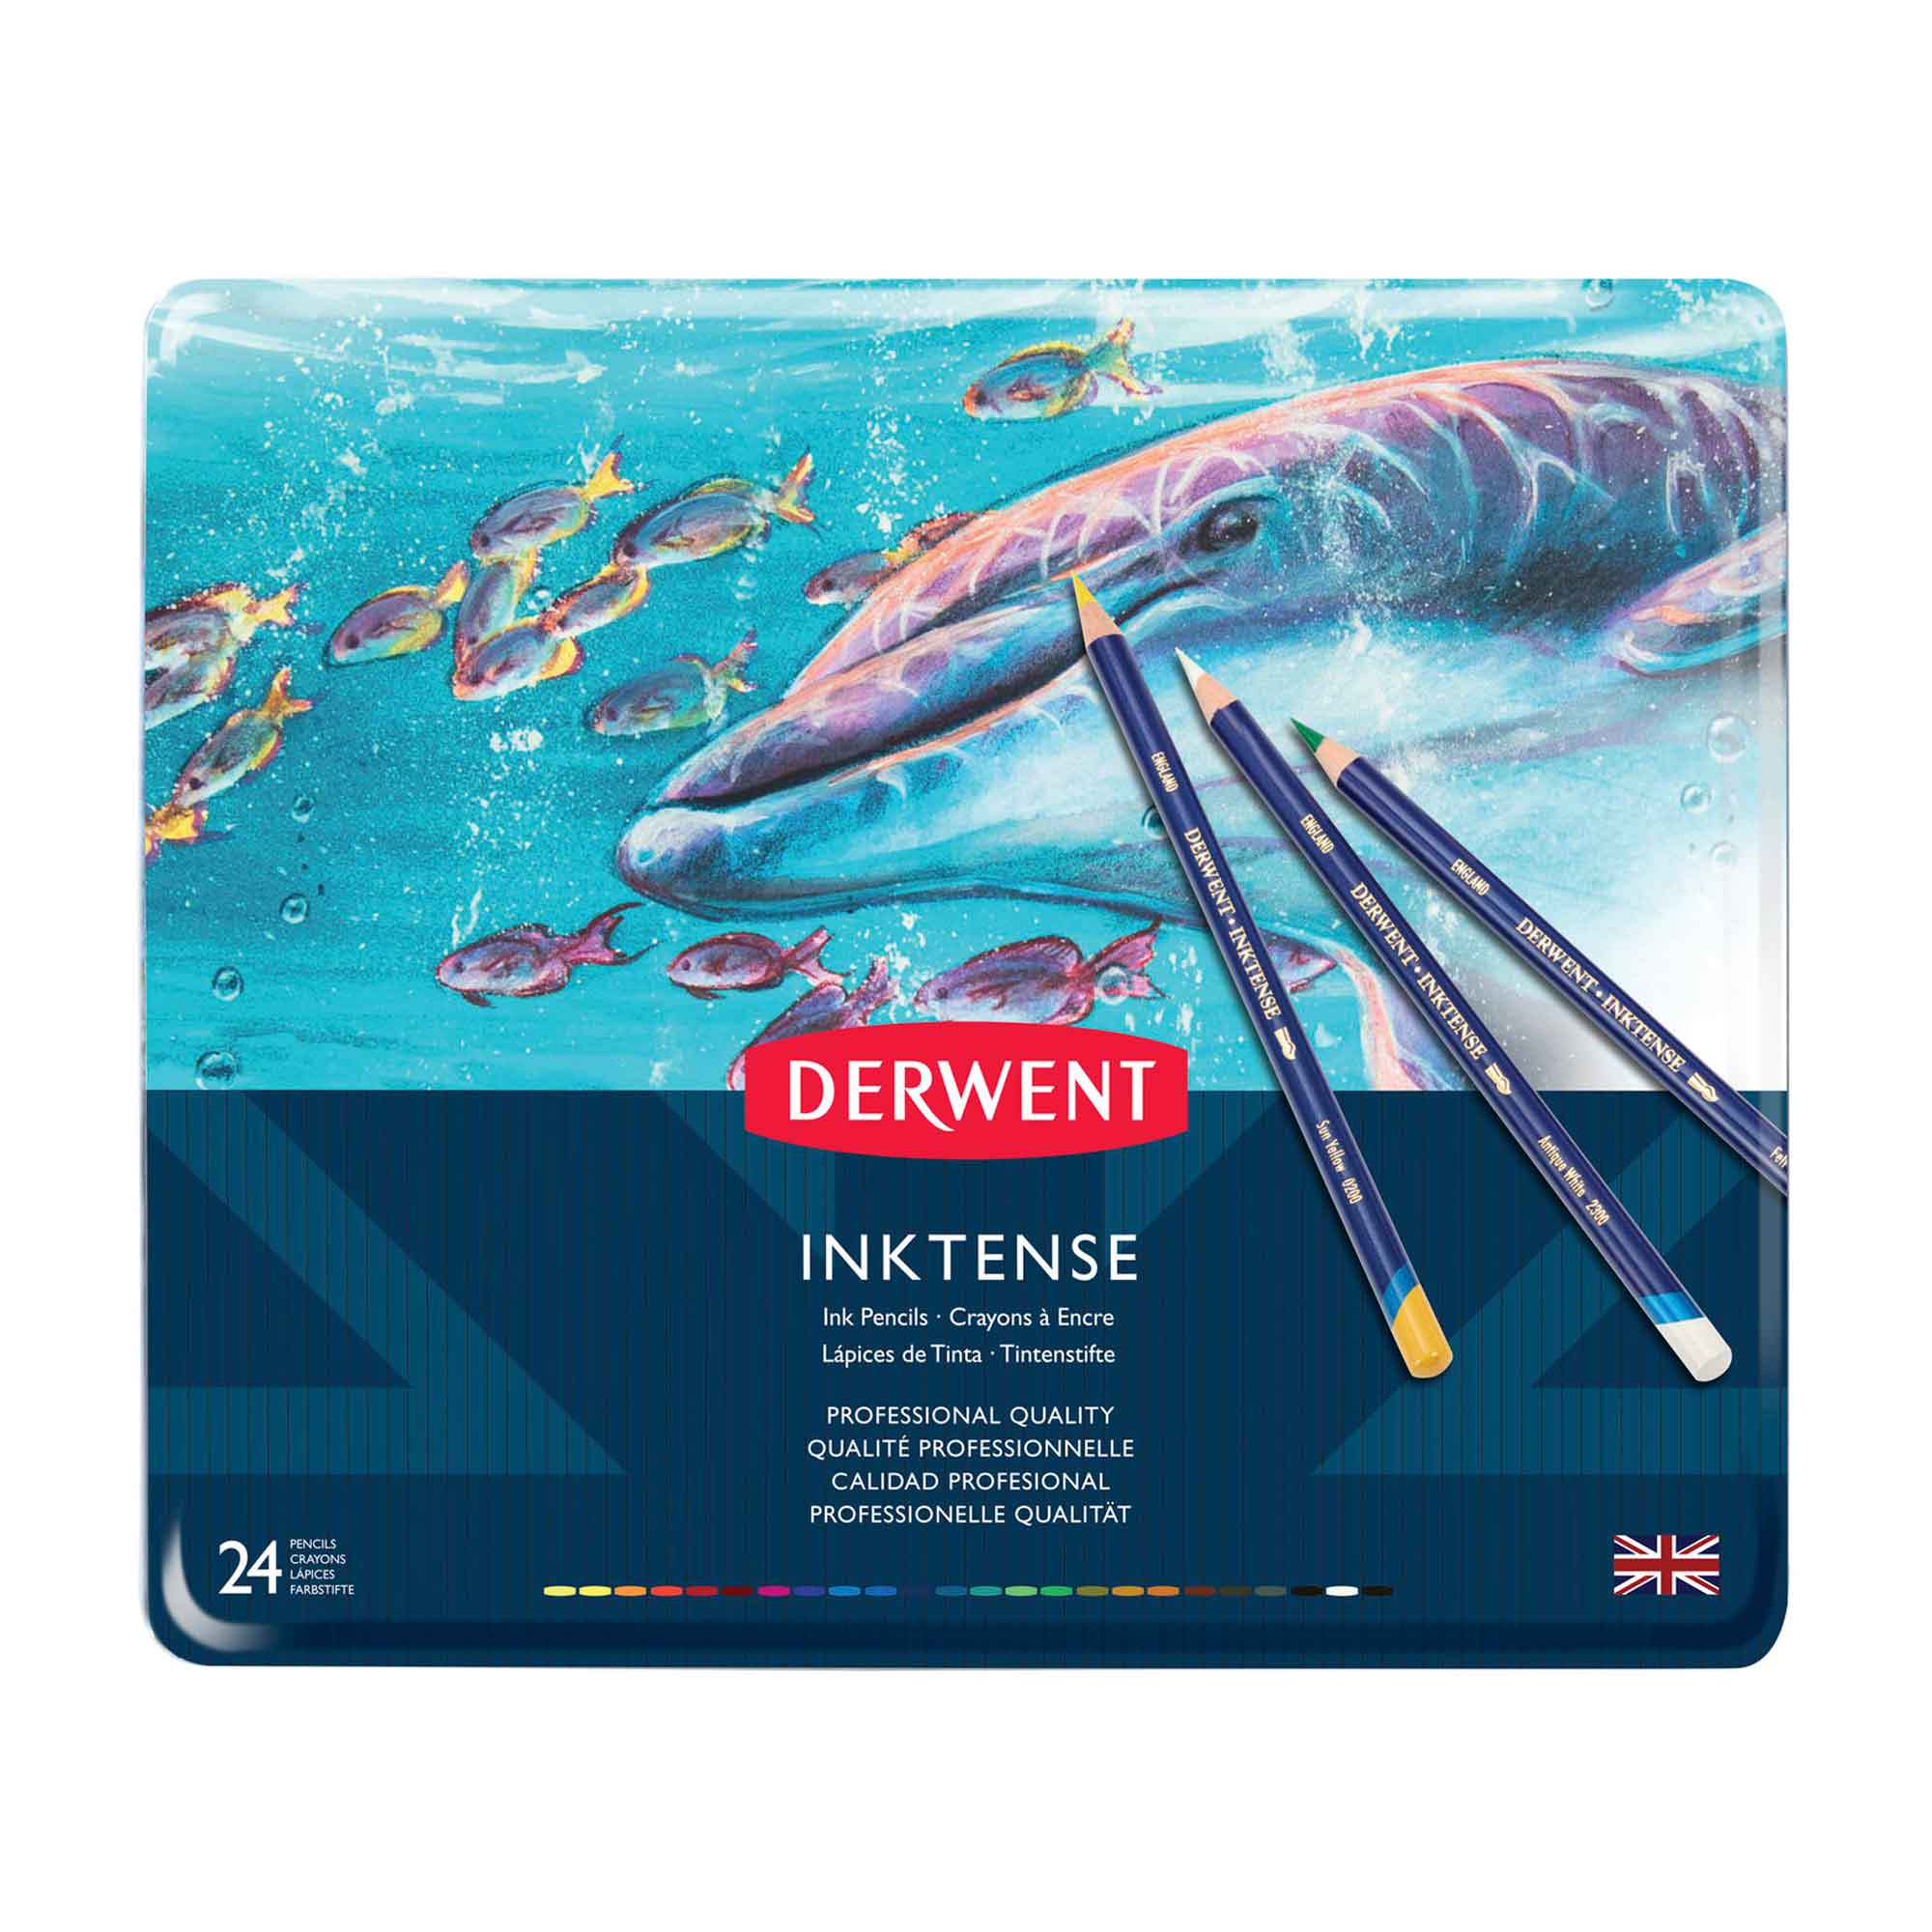
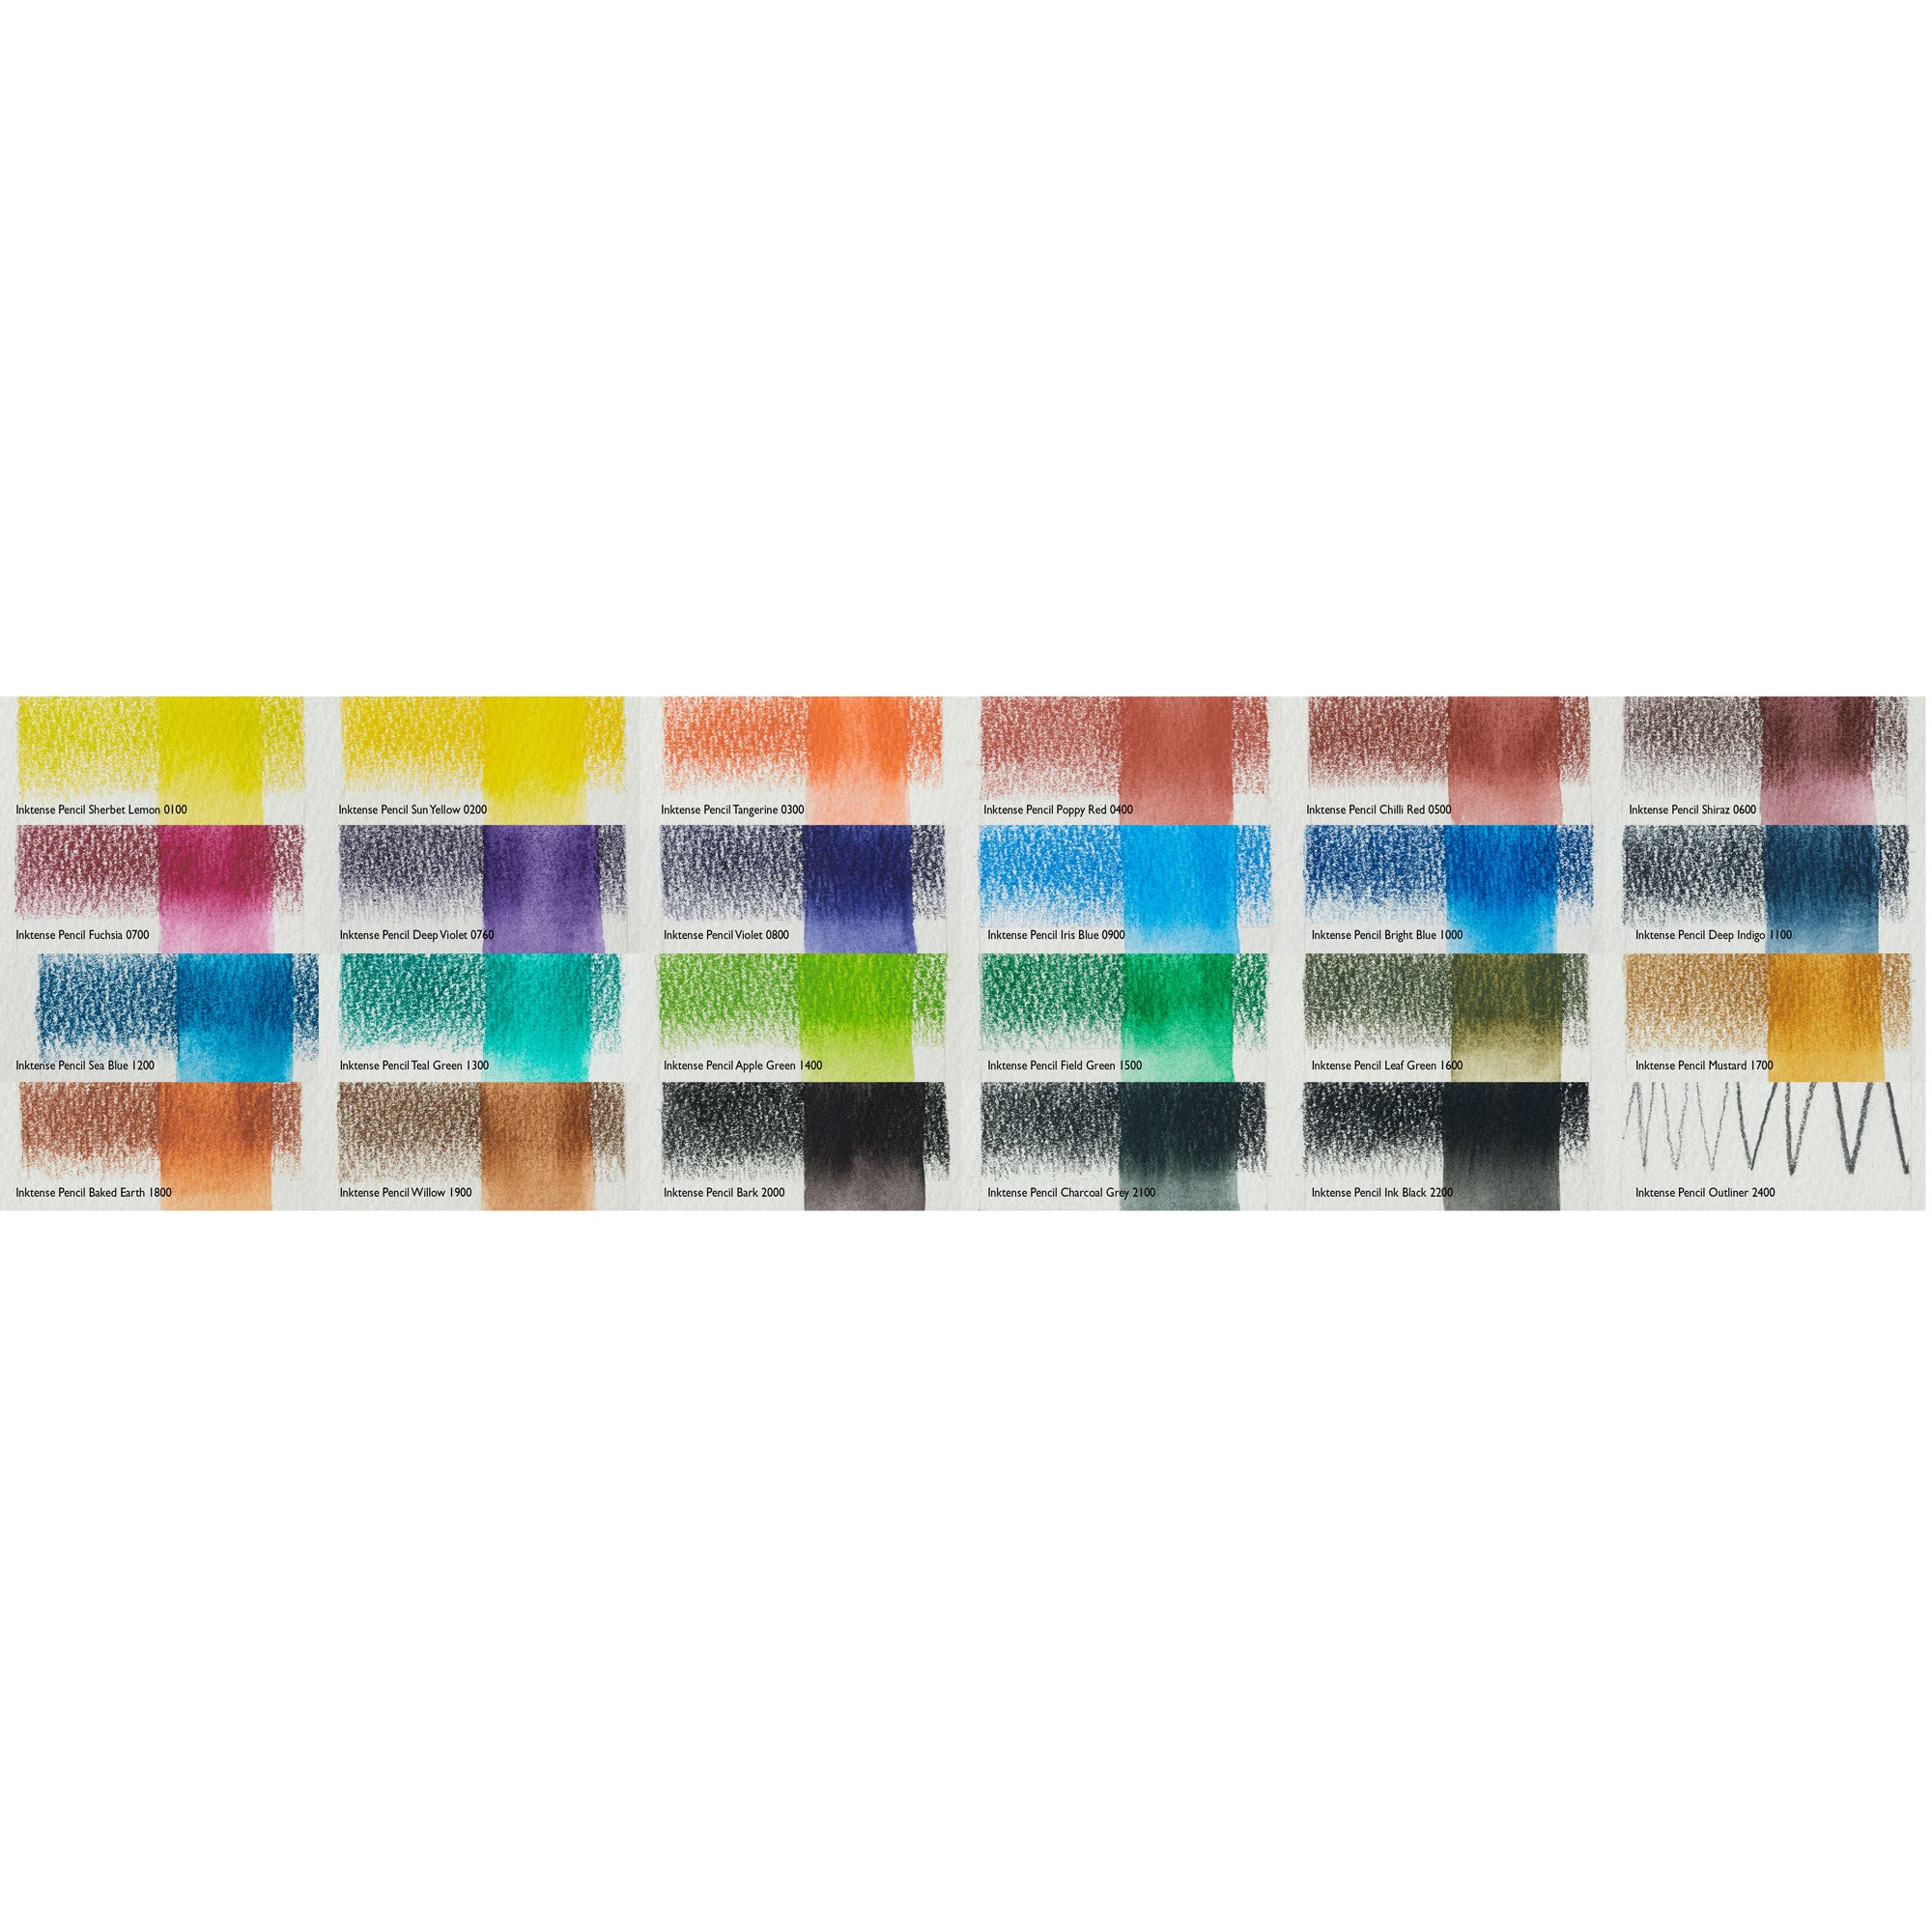
- Inktense pencils
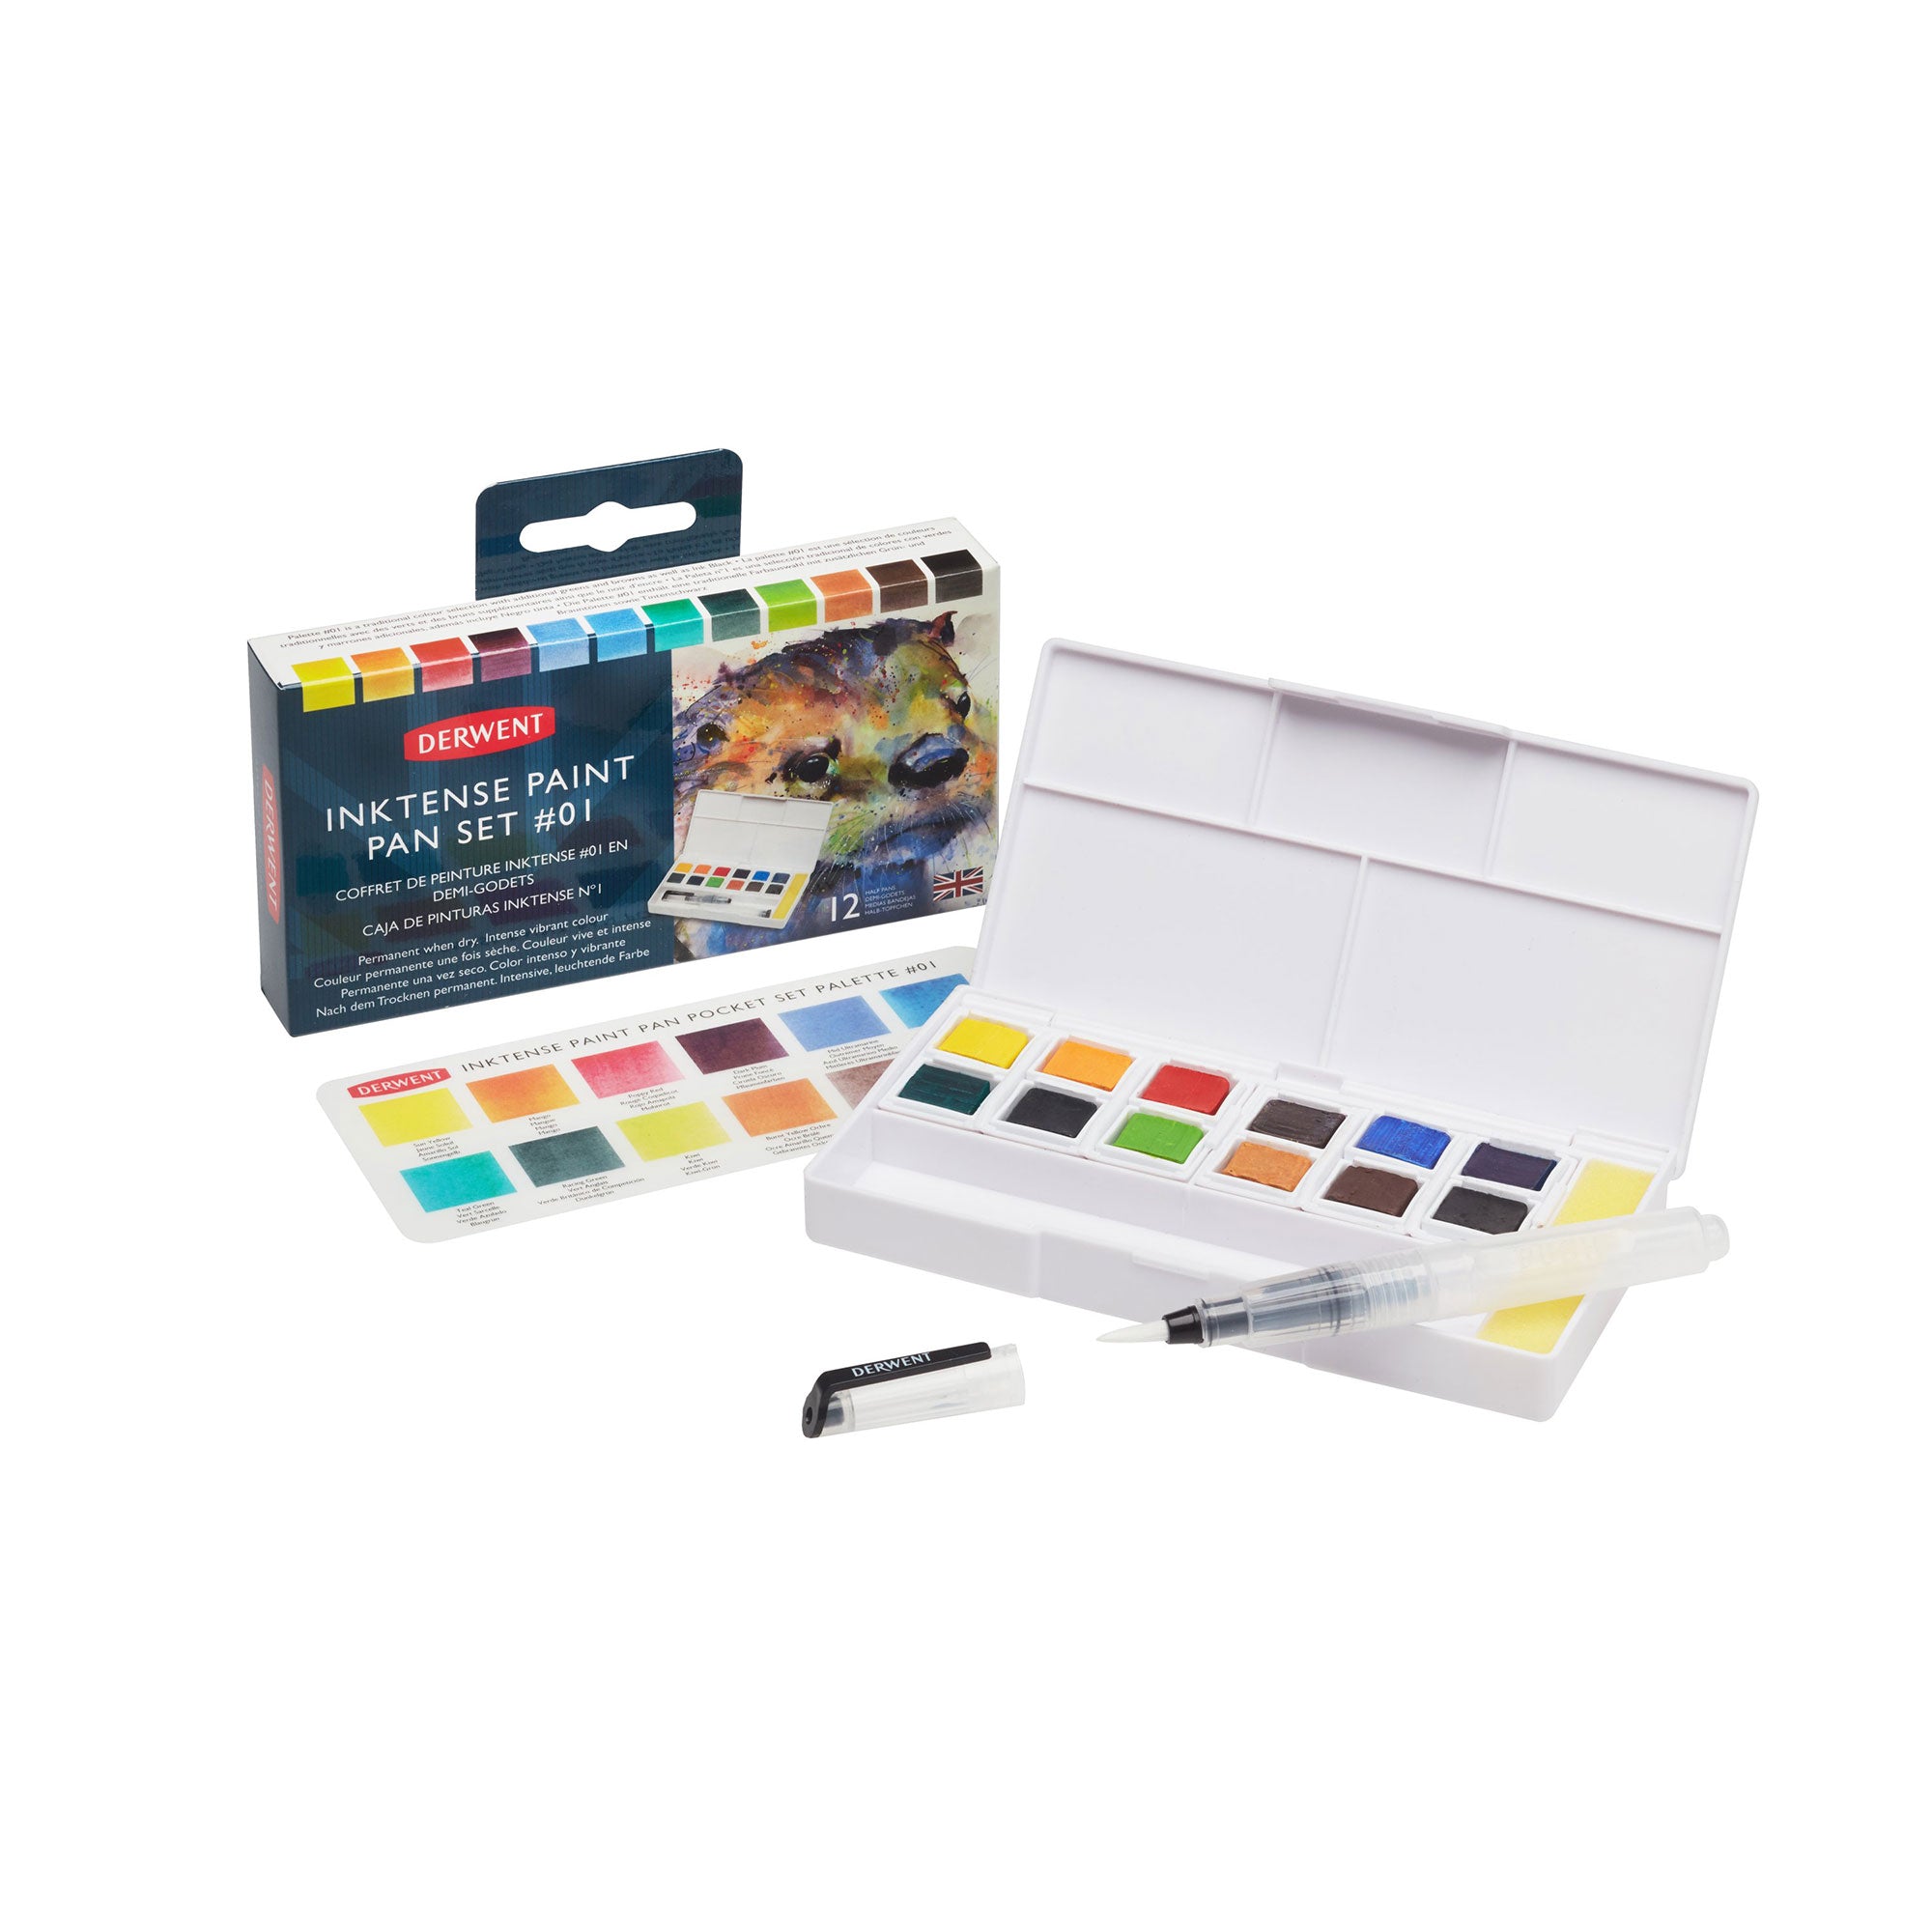
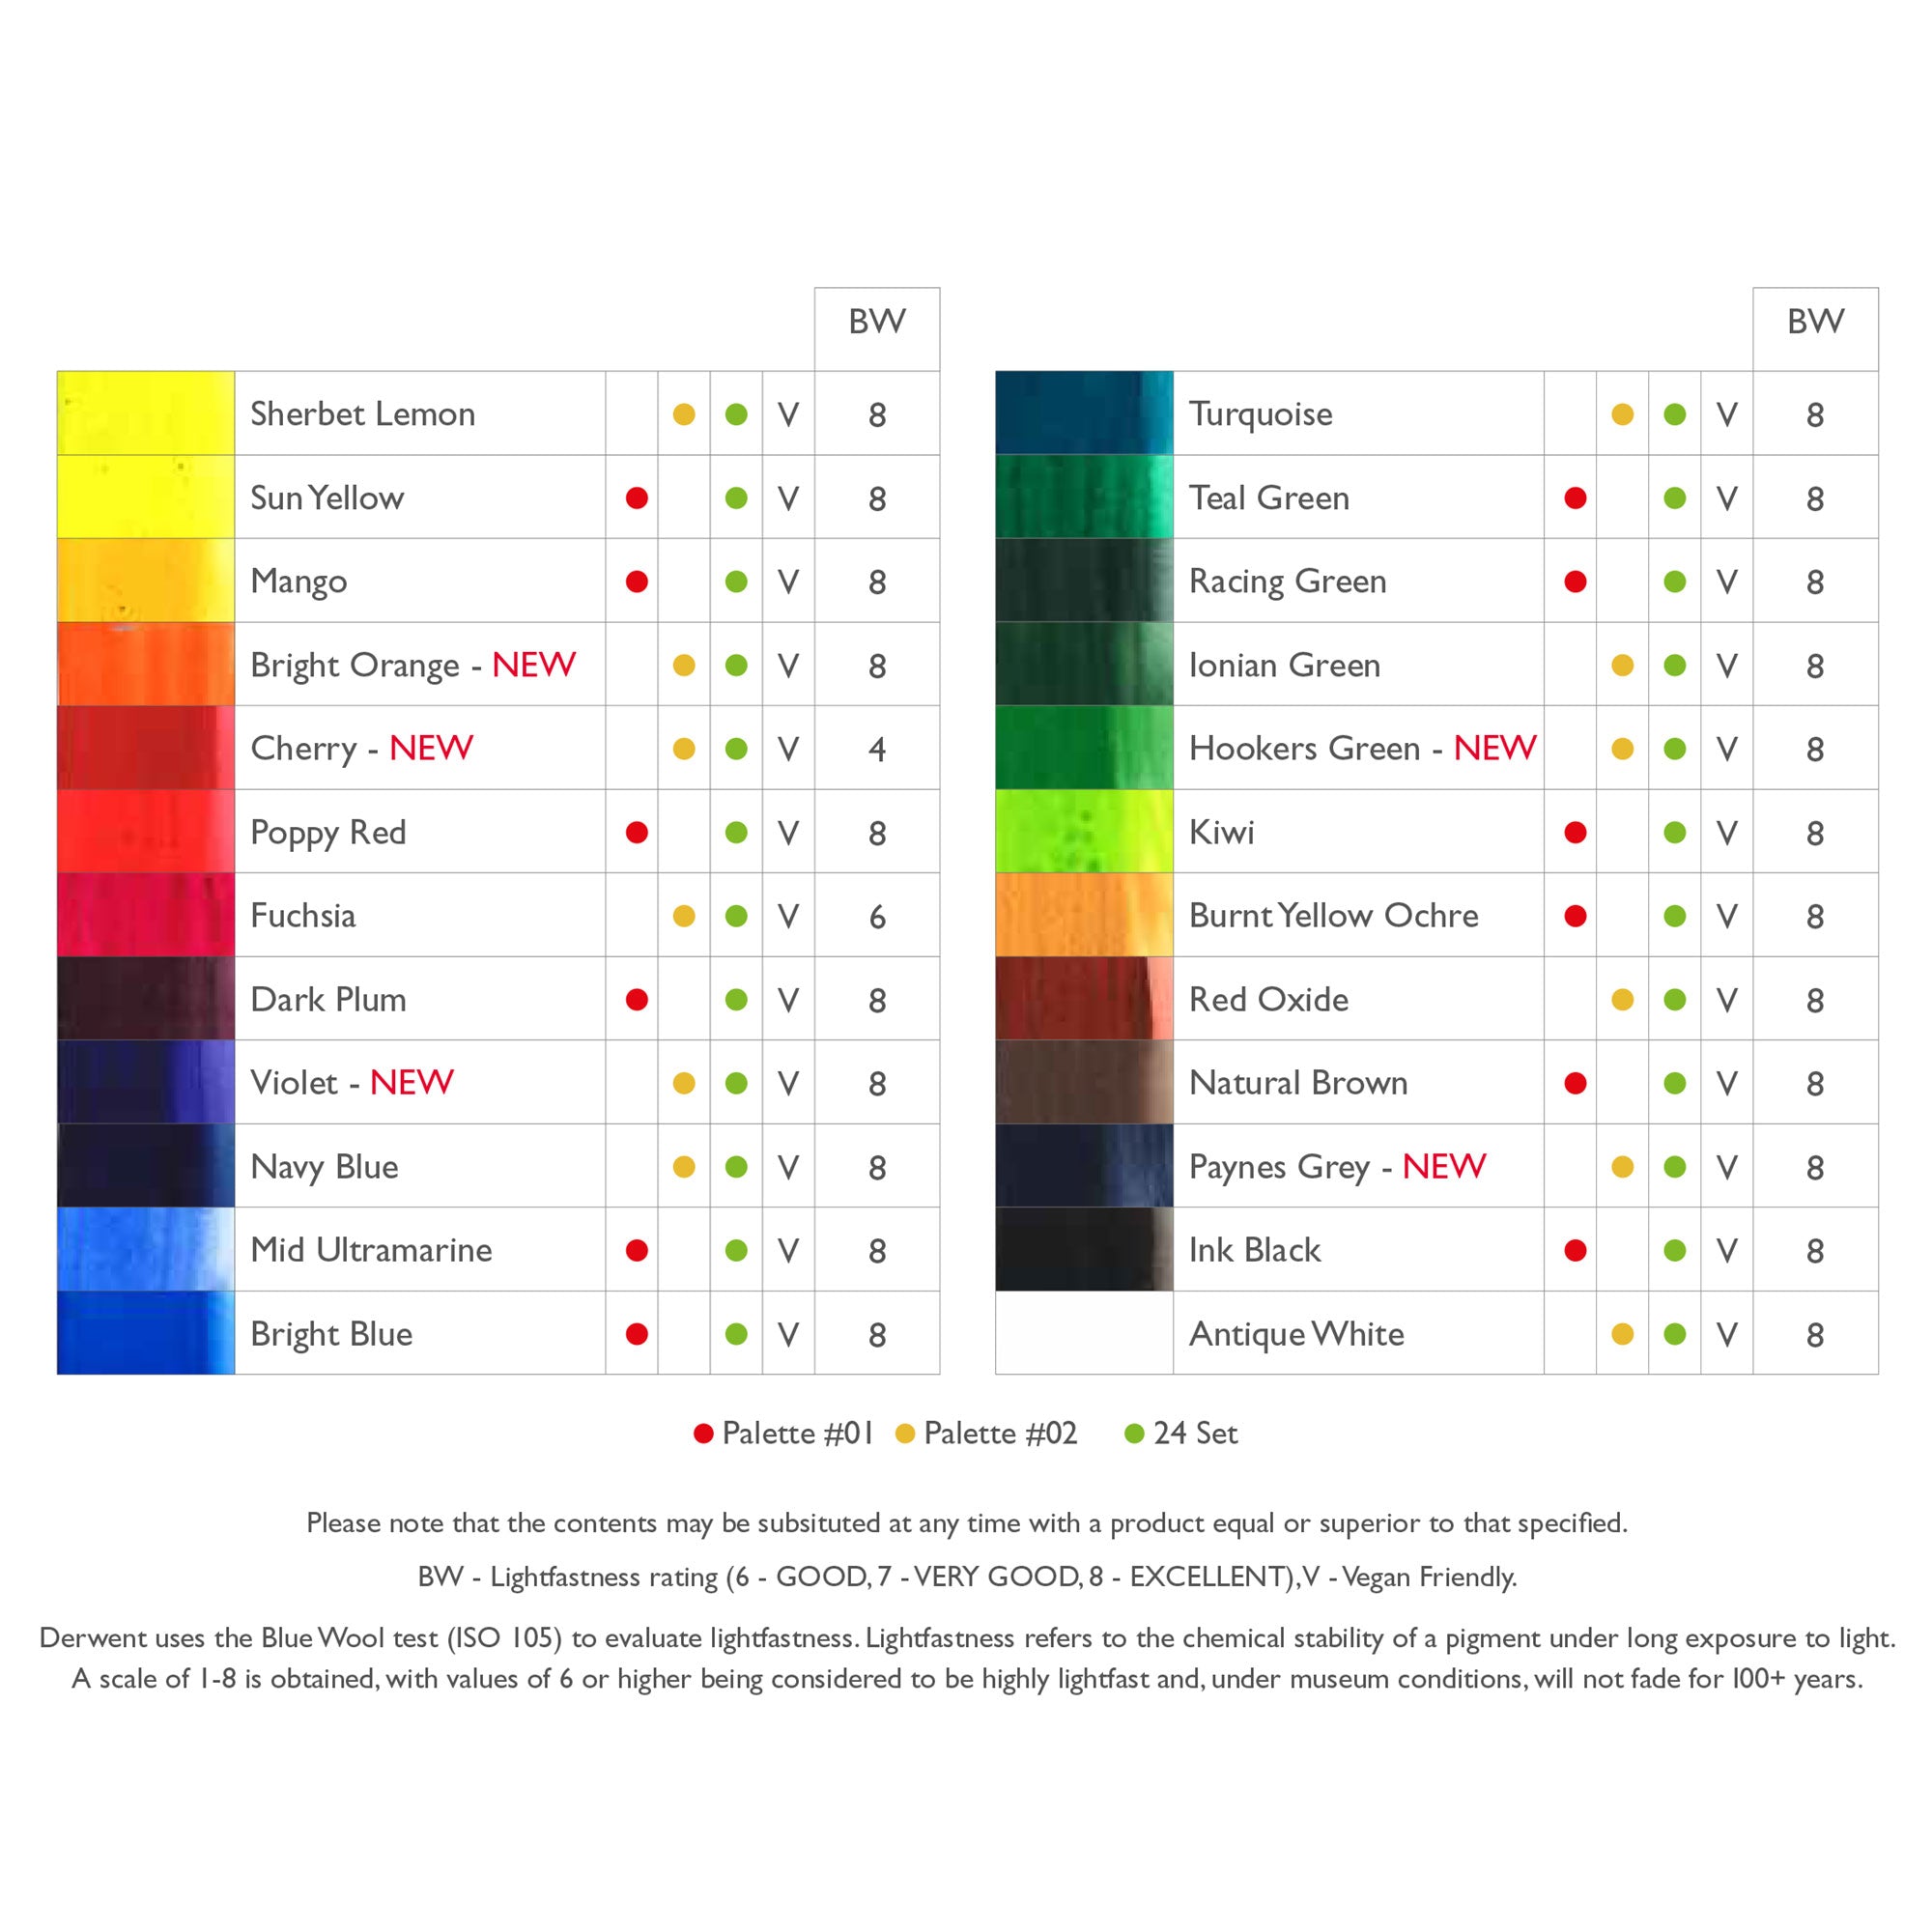
- Derwent Inktense 24 Paint Pan Studio Set
- Winsor & Newton Fineliner Sepia Set of 3. Permanent fine liner for drawing out your motif if you have a detailed piece of work to colour. (always let it dry completely before adding paint or wetting the fabric) or a HB pencil.
- String, cotton or elastic bands for tie dye techniques and glass marbles.
- Iron fabric onto Freezer paper, this will keep fabric flat and stationary. Or alternatively you can use masking tape to secure fabric onto our work table.
- Plastic cover to protect surfaces
- Textile or fabric medium to wet out the small details of your motif
- Paper towel for blotting
- Latex or rubber gloves
- Non food grater
- Derwent Water Spritzer - Plastic Atomiser
- Flat plate to use as a palette or a shallow tray for space dyeing fabric
Tie dying with marbles and Inktense blocks

1. We created our tie dye sample on a piece of cotton fabric but this could have easily been a t-shirt or a cotton tote bag. This technique is relatively simple, just place your marbles underneath your fabric and tie them with little pieces of cotton string. Aim to tie them relatively tight and don’t cut your string too short as you need to be able to untie them once the fabric has dried.

2. Lay your fabric or t-shirt into a shallow plastic tray and spray with warm water to dampen and open up the fibres.

3. Select 3 or 4 related harmonious colours, and grate them over the dampened cotton sample. Aim to distribute the colours evenly. You don’t need a lot as these blocks are vivid and incredibly pigmented.
We used Inktense blocks Mauve 0740, Red Violet 0610, Deep Rose 0710 and Bright Blue 100. Spray

4. Once you have covered your cloth in grated blocks, start to spray the pigment with water again and watch the beautiful colours start to merge into each other,

5. If you wish, you can mix your colours together to create more of a blend rather than a spotty texture, by using a stiff brush to push the pigment into the fabric. Spray a little more water to dilute the colours and distribute the pigment whilst using the brush.

6. Wait for the fabric to dry completely before untying the marbles. You should wear rubber gloves and an apron for this as some of the pigment can stain your hands and clothes.

7. Iron your fabric with a very hot iron this will remove the creases, and help to fix the pigment into the fabric even more.
Embroidered feathers and Inktense pencils

1. We used Inktense pencils for this sample and some cotton fabric. Working dry onto dry fabric, we created the first initial sketch of the feathers.
2. Wetting the fabric with a damp brush allows the pigments to dissolve into the fabric and the more water added will provide a bleeding effect. If you wish to contain the Inktense pigment use less water or just use fabric medium.
3. For this sample we wanted to create a loose, soft feather effect as silver embroidery thread was going to be added once dried.
4. To control the bleeding, work in layers, waiting for each layer to dry before adding the next.
5. Adding the pigment in layers, using dry pencil on dry fabric will allow you to build up the different tones, and adding just water creates a soft blend. Some colours do dry a shade lighter than others, so working in layers enables you to have full control of your tonal ranges. We recommend testing your palette out on a spare piece of fabric before starting your final pieces.
6. Once dried, and ironed with a hot iron, we added a few white Inktense pencil details and added some embellishment with silver metallic thread and free machine embroidery.


Embroidered silver swallows and Inktense paint.


1. Once the Swallows had been hand drawn with a hard graphite pencil, free machine embroidery was used to create an outline and some feather details. An embroidery hoop was used to keep the fabric taught whilst free machine embroidering. Hand embroidery could also be used to add embellishment. If you are not confident drawing a stencil will work just as well.

2. To minimise the pigment bleeding uncontrollably into the fabric, we mixed the Inktense watercolour paint with Liquitex Fabric Medium on a palette first. The thicker consistency enables a more controllable flow of the paint without compromising the vibrancy. The Inktense watercolour paint mixture was applied in layers with a small waterbrush.

3. If you decide to keep the background white an additional precaution to prevent bleeding would be to use a glue stick around the outside of the bird or motif. Once you have ironed the fabric to fix the Inktense paints you can wash the glue stick away.
4. When you have completed your embroidered painting, wait for your piece to dry and then iron to fix. Delicate fabric would need to be covered with a light weight cloth or paper to prevent the fabric burning.
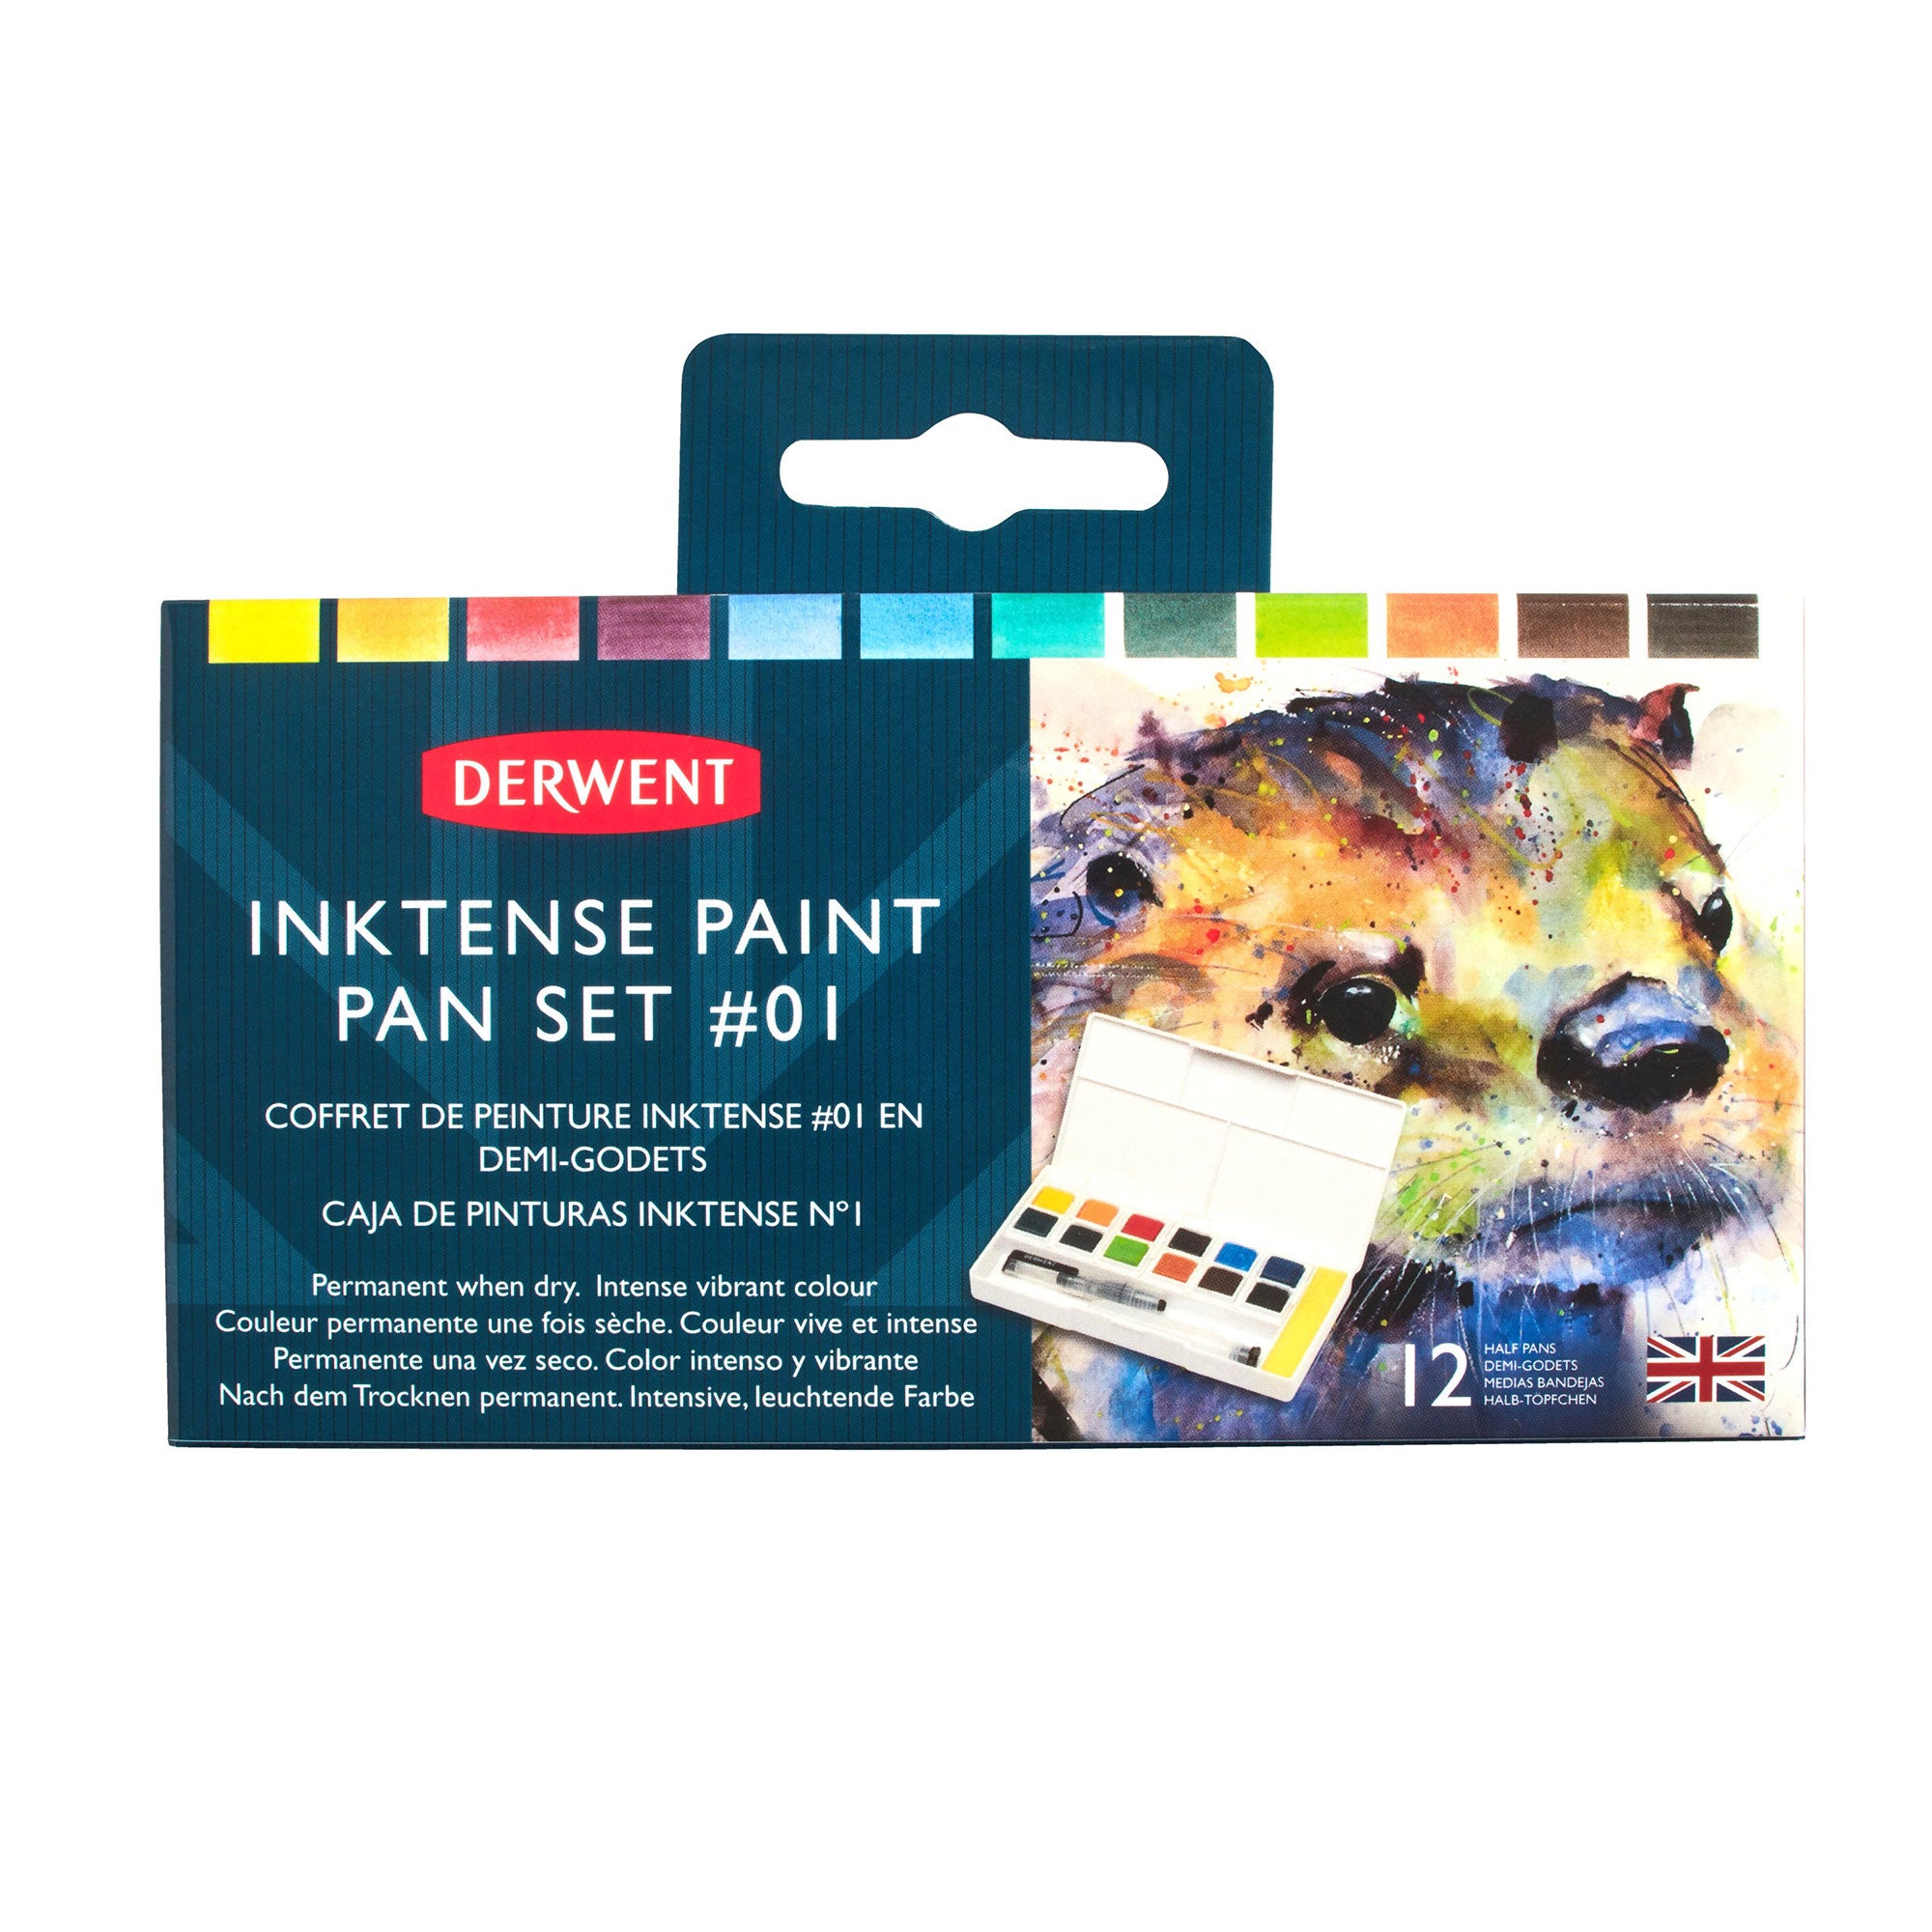
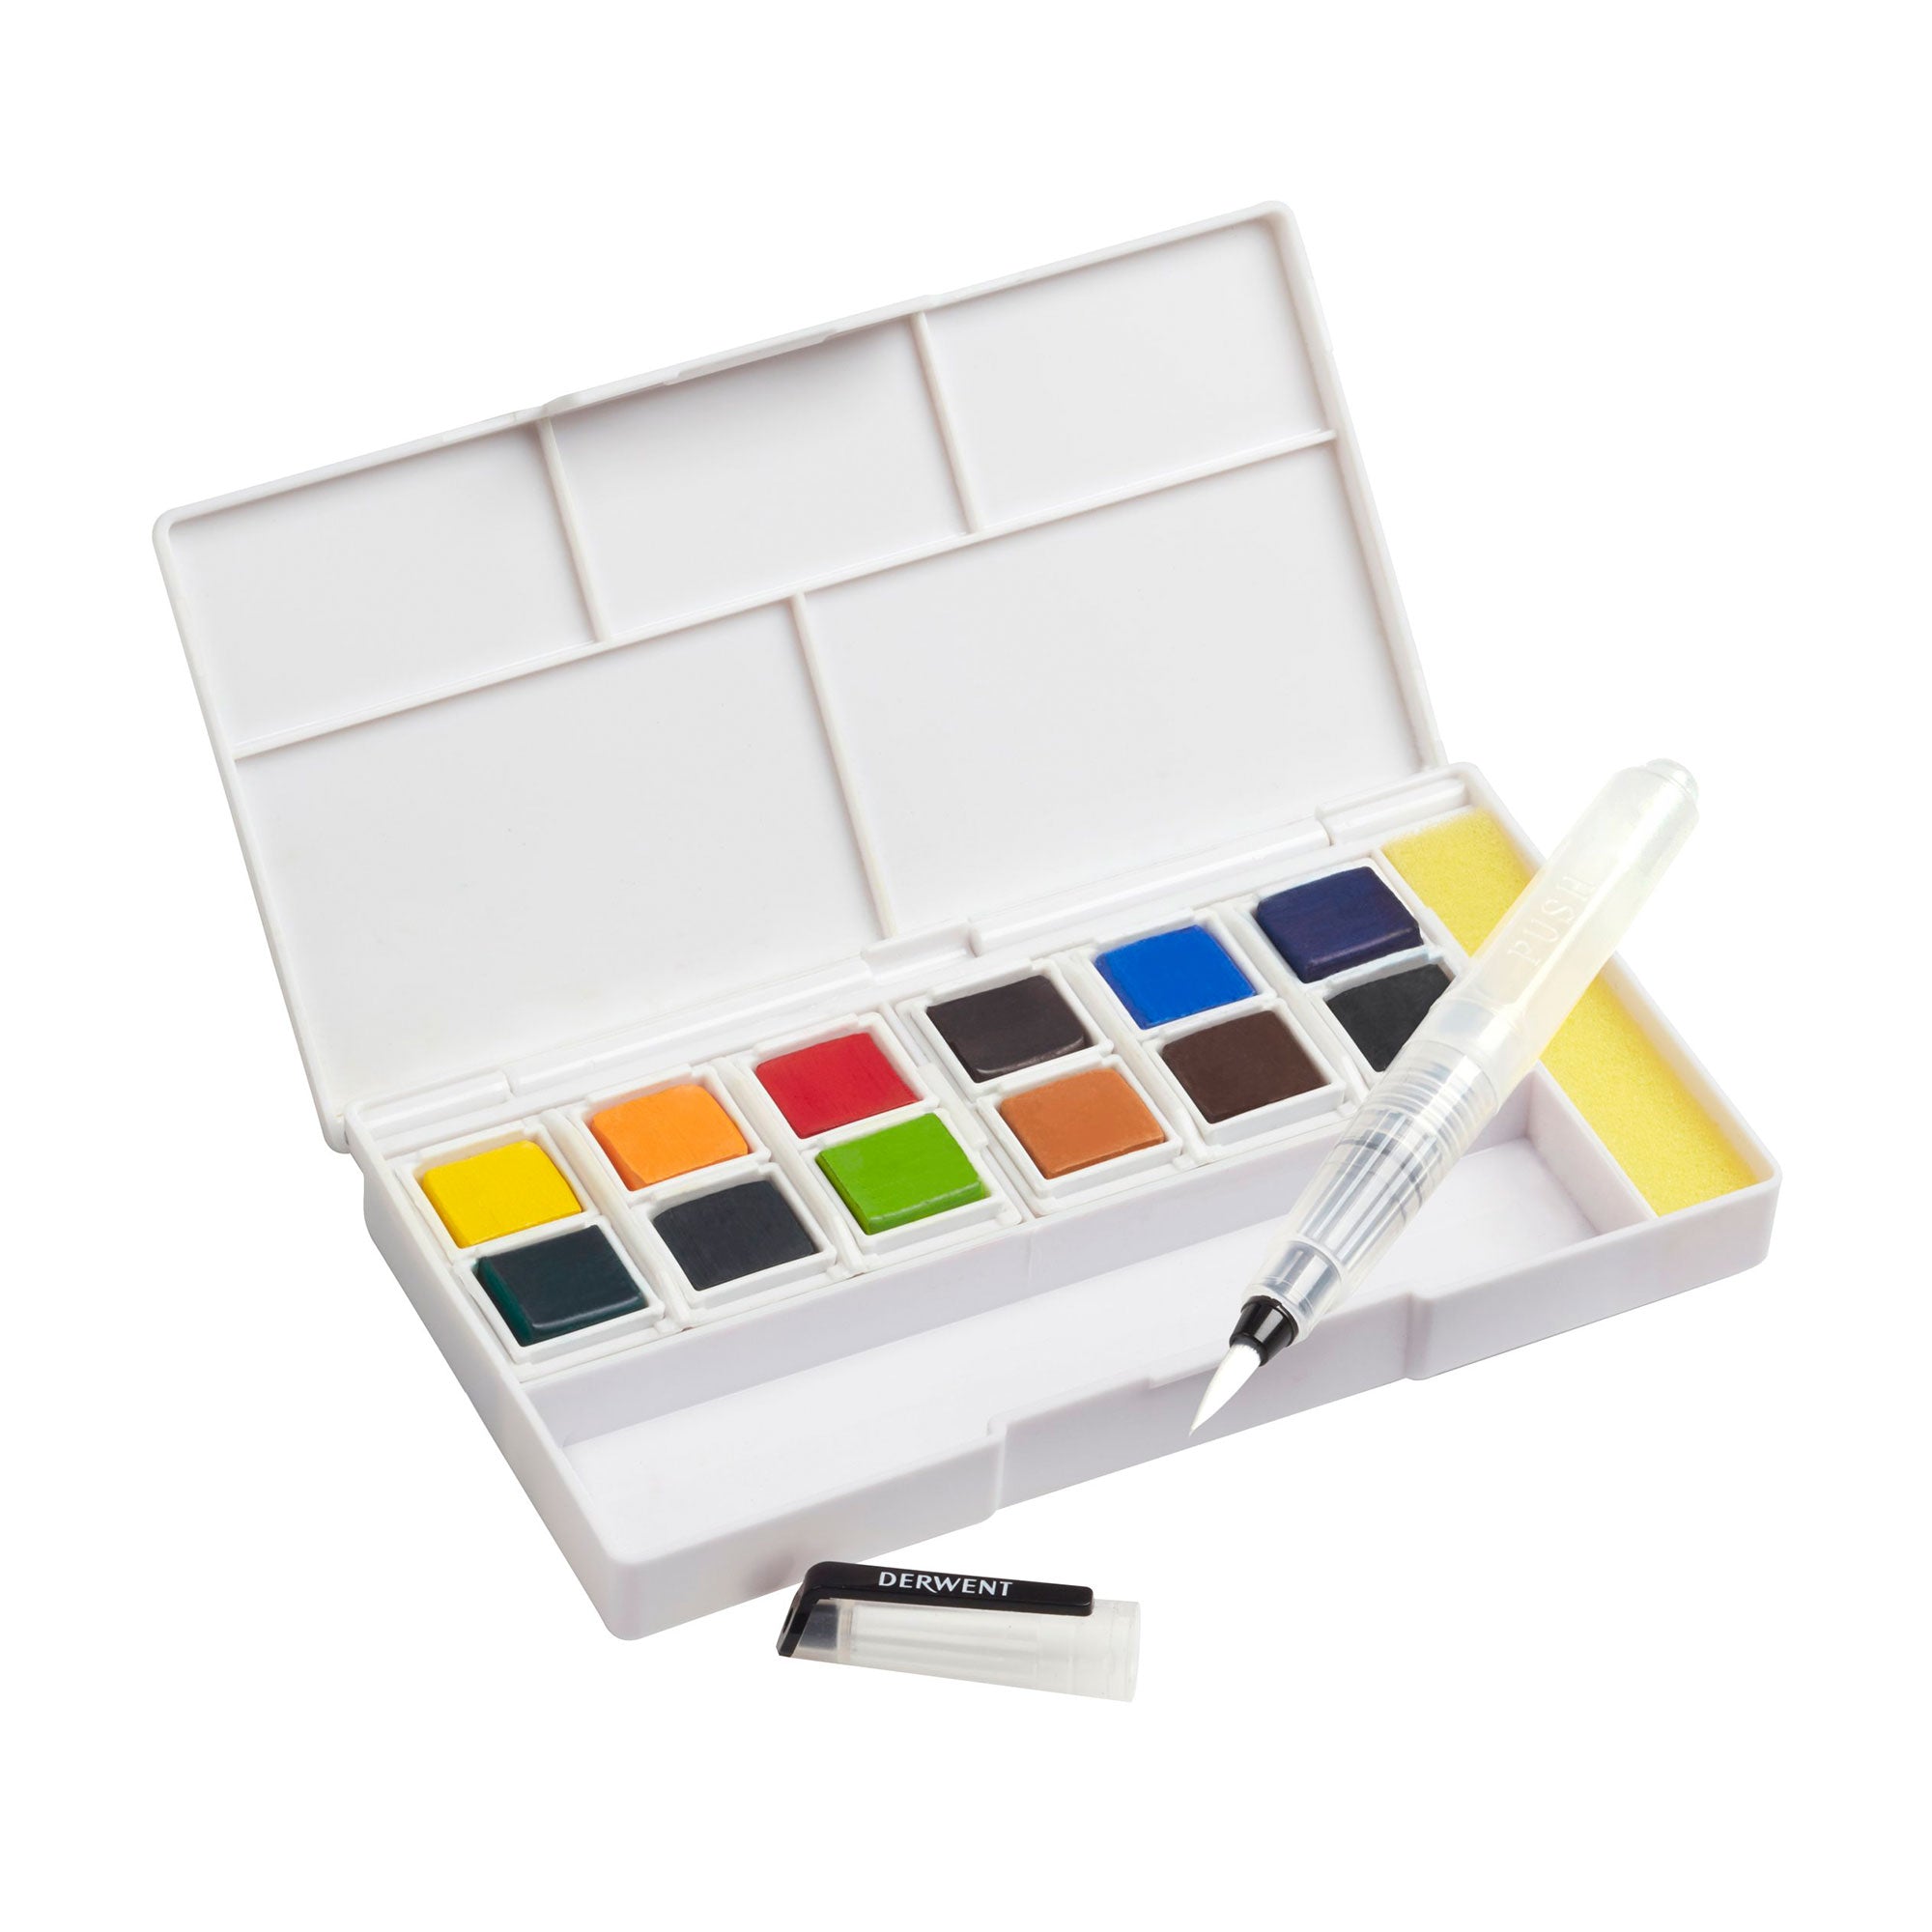
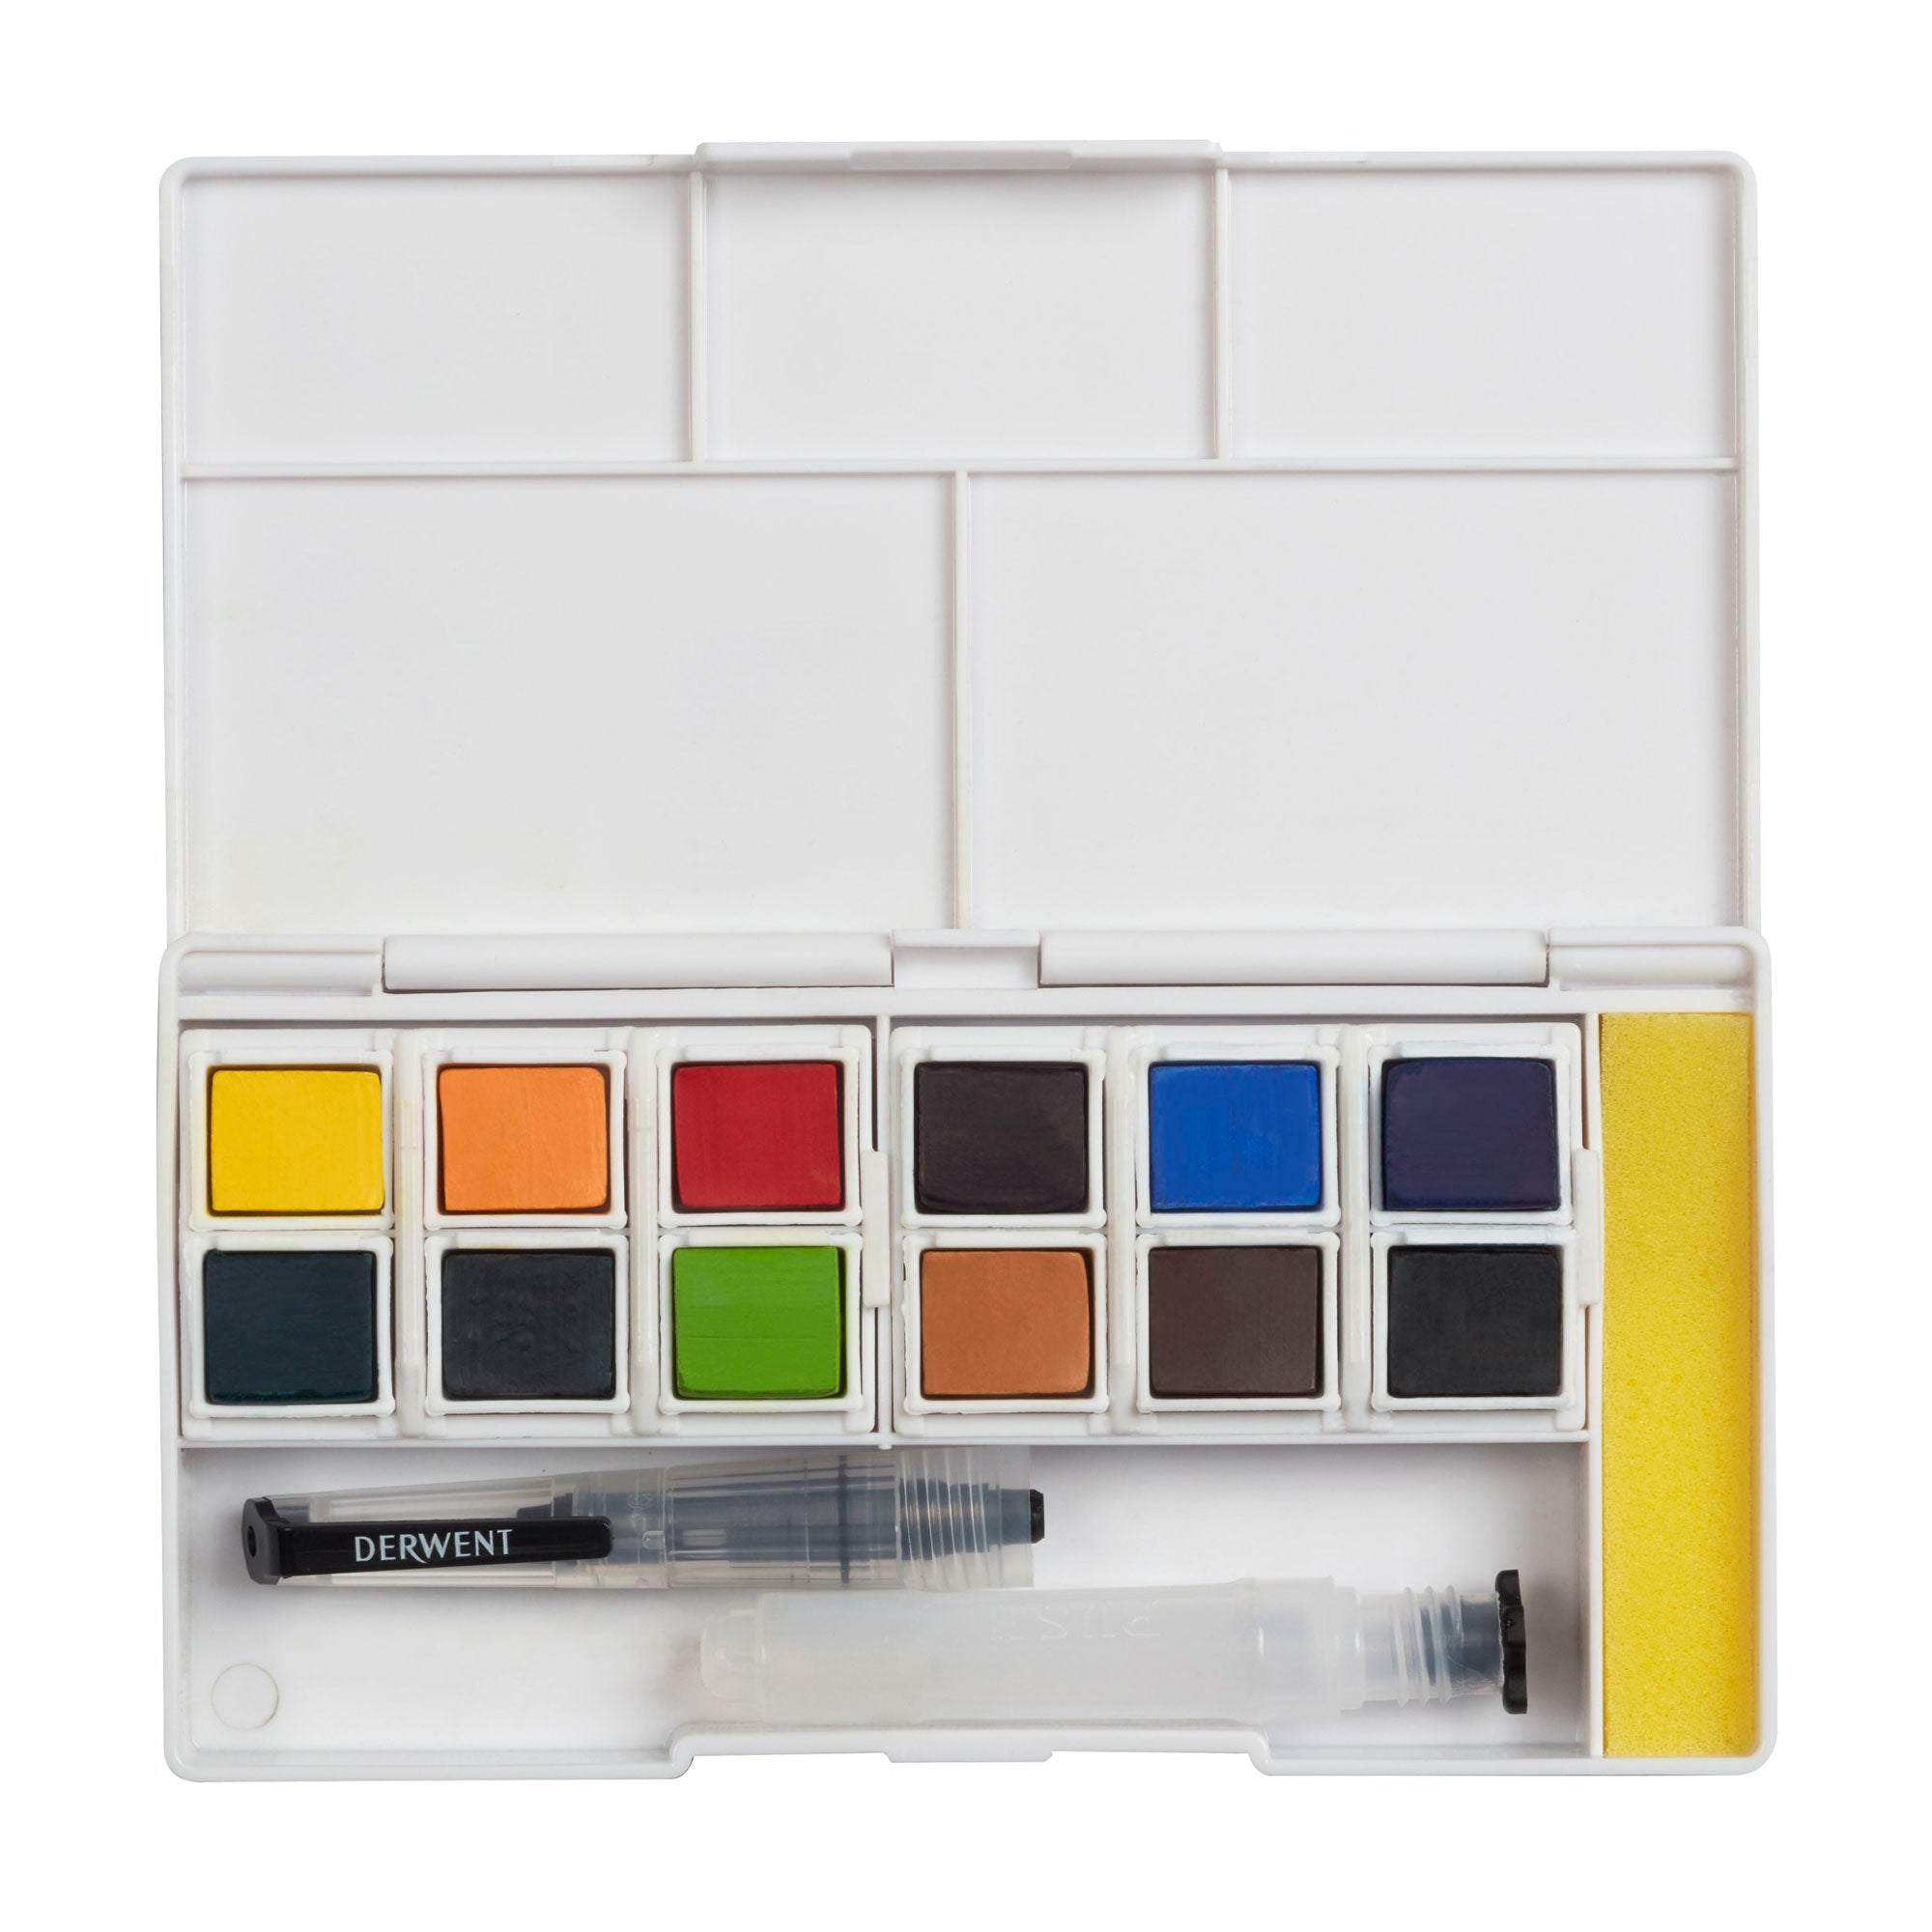
Some of the Derwent Inktense products we used.
We hope this article has inspired you to use your Derwent Inktense products in a new and exciting way? Please share your Artistic creations on our social media Instagram, #colouringthenation.
Don’t forget to check out part one of our blog: Crafting and Creating with Derwent Inktense!


